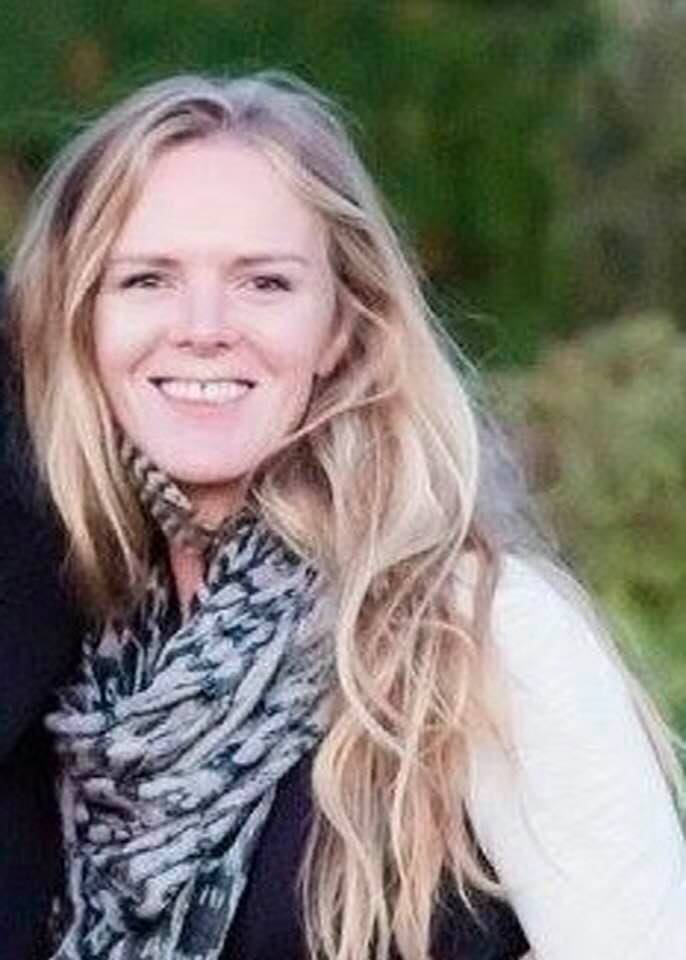
Raina Kennedy
Inspire, Enrich, Create
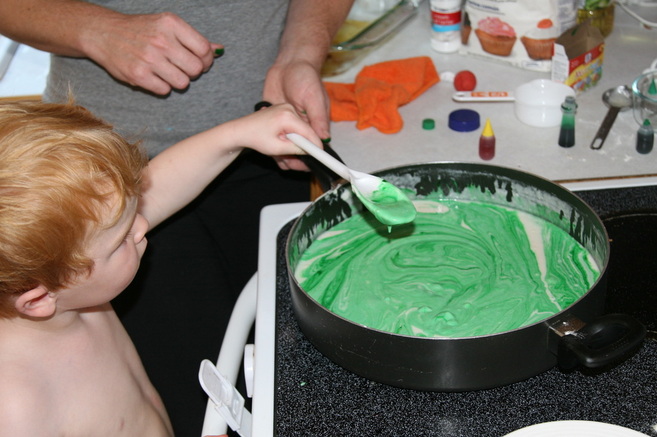 3 cups flour, 1.5 cups salt, 3 cups water, 2tb veg oil, 1 tb cream of tatrtar and any food coloring you have. Cook over low until dough spreads away from the pan. It comes out so soft and lasts for years!
0 Comments
As a science activity- we used glass jars to teach children about fire and how it needs oxygen. Here we illustrate how fire burns without the lid and how it blows out once the lid covers the jar.  Here the kids watch closely as the fire goes out once the lid is placed. 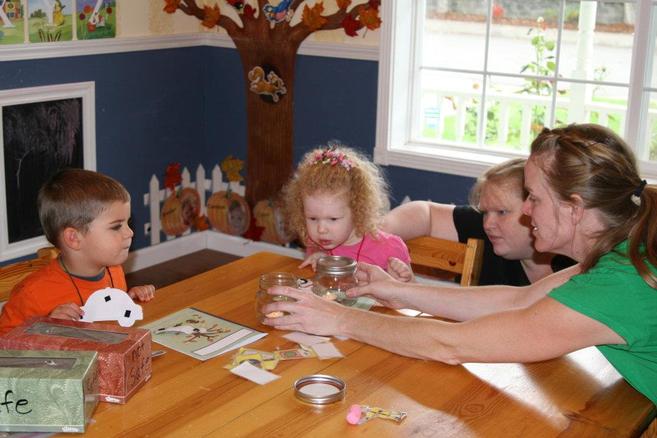
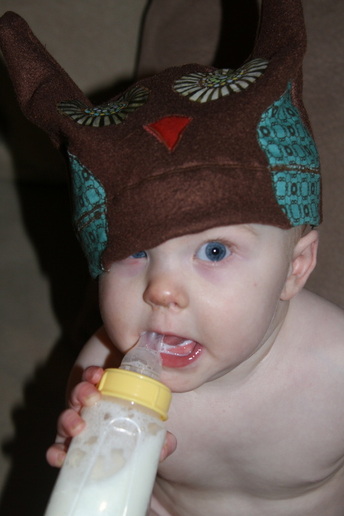
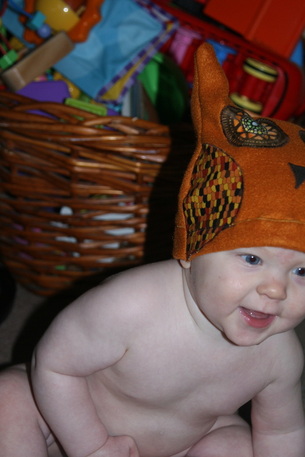
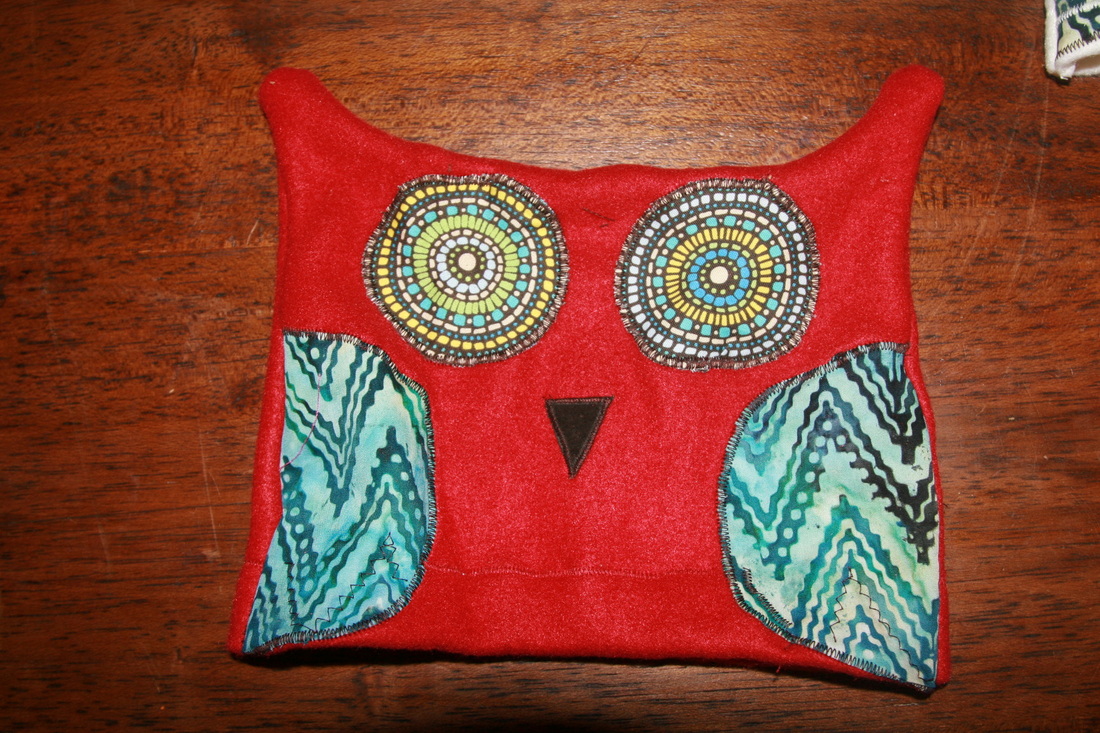
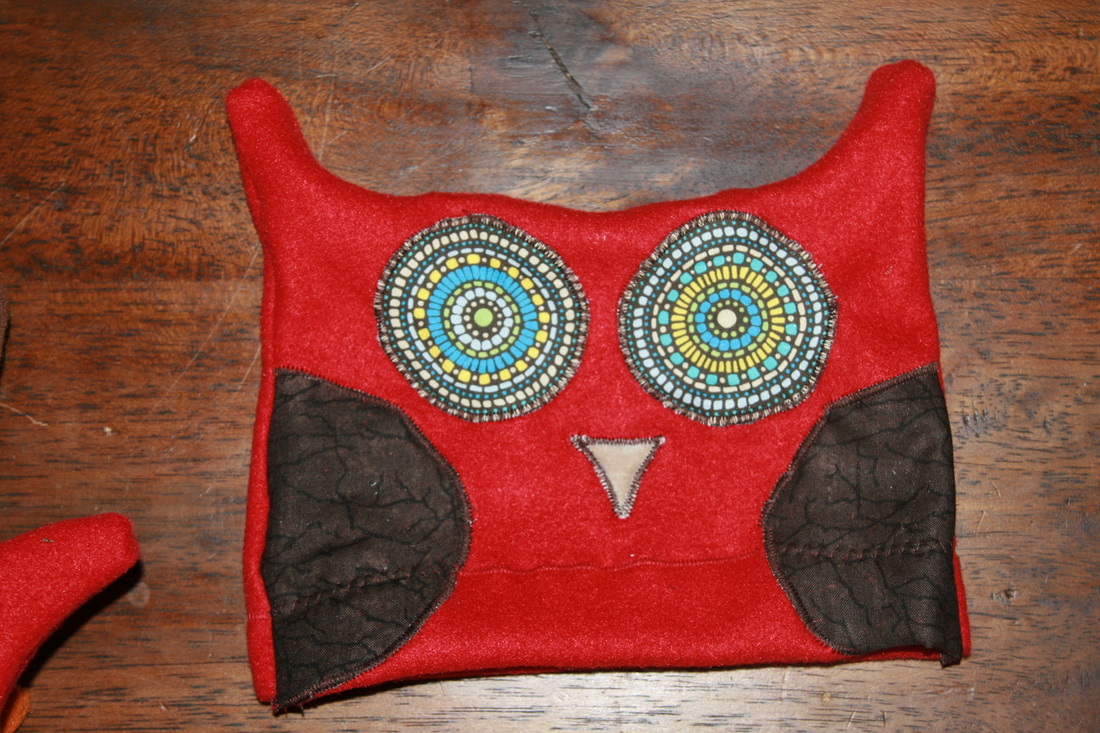
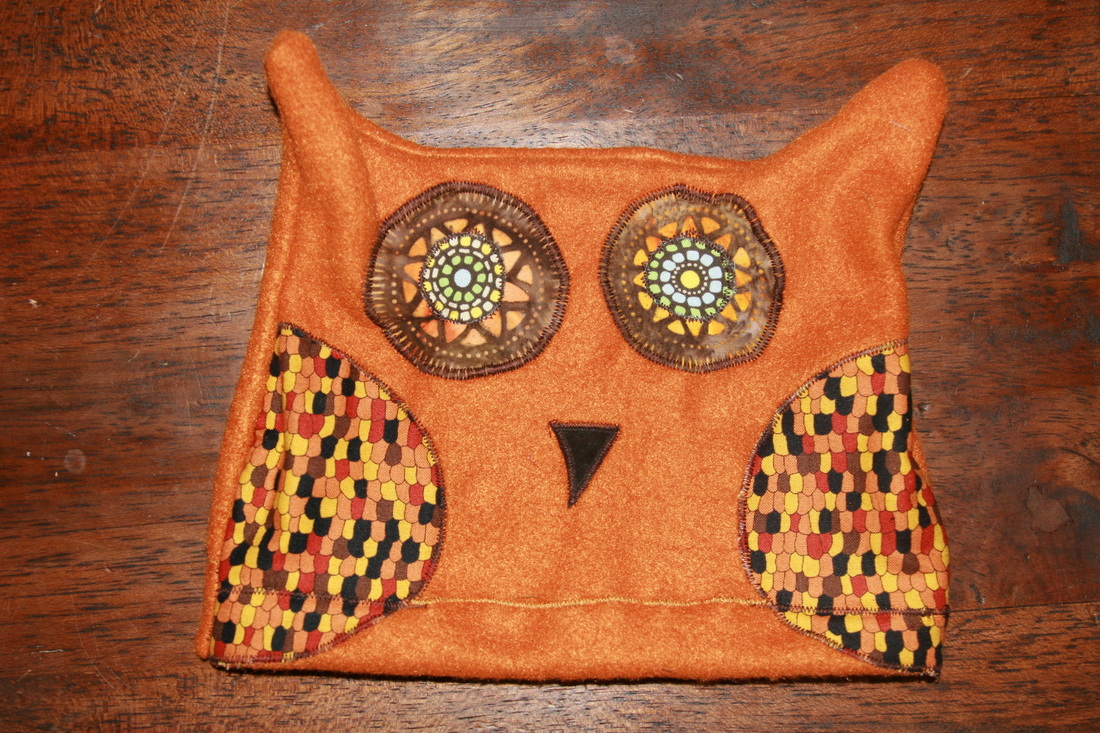
These are really easy to make. Just cut out some felt in the shape of an owl head and use other fabric to create the eyes, nose and wings. The possibilities are endless and the kids look too cute wearing them!
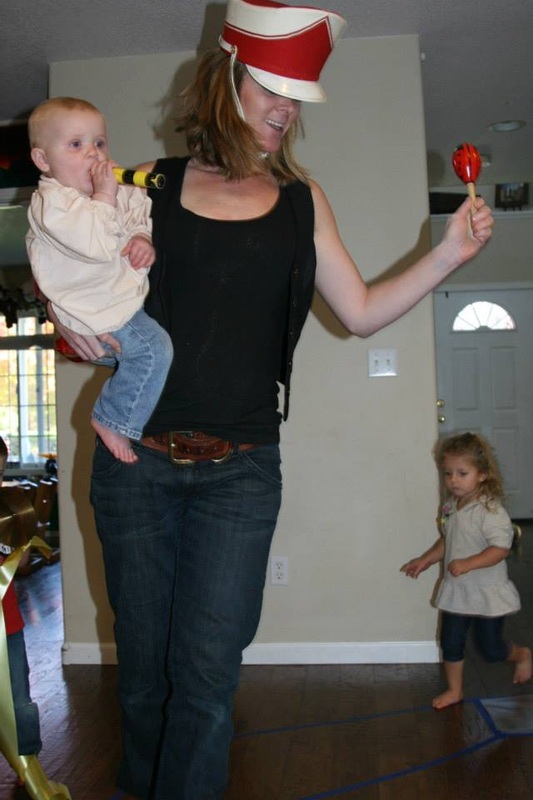
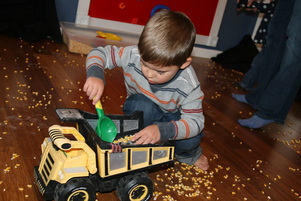
Here's the pattern I made to create the hats. 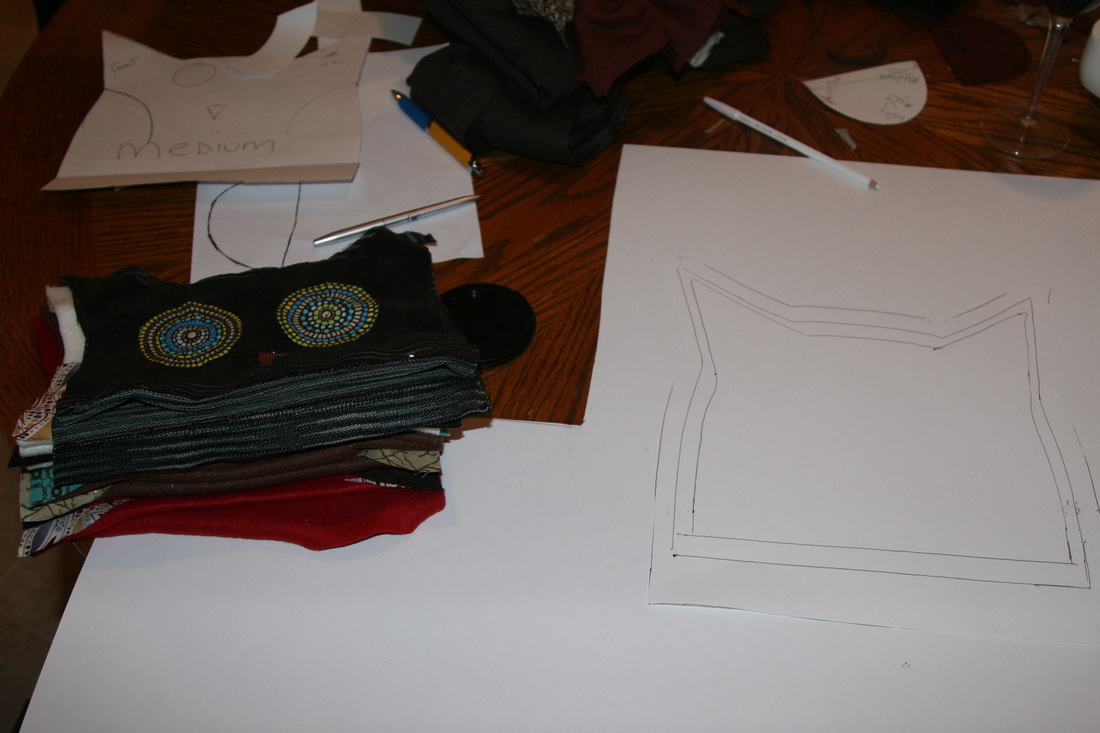 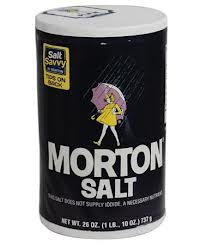 These salt containers make great drums and maraca's! Best part is they are only .33 cents each! 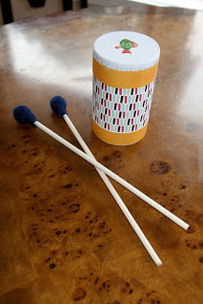 We love throwing theme playdates. Our Marching Band playdate was such a hit with the kids that I have to share it. We hosted it in the summer when real parades were happening. The kids really enjoy dramatic play, music and making crafts. As a craft we had them make their own drums and maracas After the craft, our little performers paraded around the house playing their instruments with some fun band music in the background. For the parade route we taped contact paper to the floor (sticky side up) so that their feet made music too! For the education component, we cut the contact paper into shapes. When the music stopped, the kids had to call out the shape they landed on. For the drums, we used salt containers. They were only 33 cents each and small enough for the kids to handle. We saved the salt to make playdough for other playdates. Prior to the craft, I cut out several strips of scrapbooking paper for the kids to choose from. Then we cut out 2 thinner strips for the borders (see orange in pic). It was a simple tape/glue craft. We put out a bowl of stickers for the kids too. Make sure to cut off the bottom of the container. The drum beat sounds louder when the bottom is hollow. For the drum sticks, just use some spoons in the house. The ones we made in the picture didn't work out so well. The simpler, the better. You can also make some fun Maracas. Prior to the playdate fill the salt container with beans and seal the lid shut.
The kids love all things that light up. Instead of waiting till the evening to have our light up fun, I created this daytime Galaxy room in our hall. Here's a quick way to create a dark room for all your light up desires! Close off your hallway with black fabric hung by closet rods. I screwed closet rod holders on both ends of the hall for a quick install. I keep all of our light up toys in a box with the rods and fabric so they are ready on demand. I also keep glow stars to dec the hall and solar system streamers in our bucket for when we want to have galaxy and outer space play. 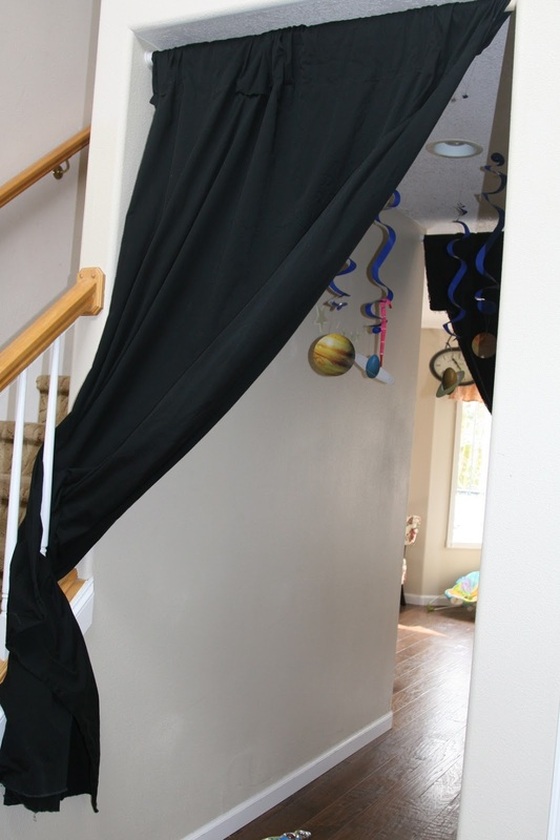 This is a great set up for a birthday party and/or a themed playdate. Our kids just love experimenting with gravity and water. I made them these wall and deck activities with a quick stop at our local hardware store. 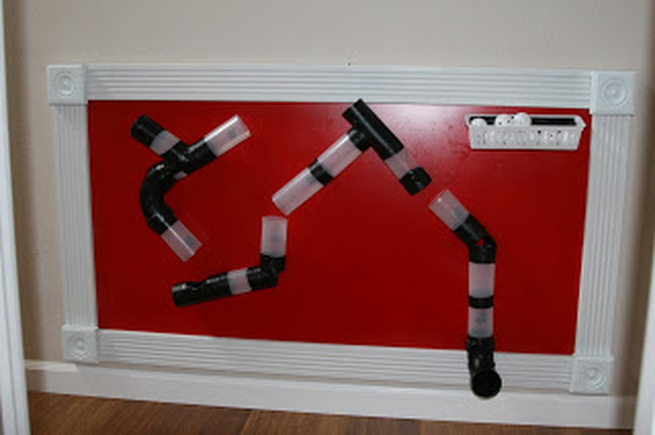 Here's a magnet ball and tunnel system. I picked up a sheet of metal and used base board frames to create the border. The tubes are made of clear ketchup dispensers and fastened together with electric tape. I fastened the magnets to the back and lined the tubes up in various ways to create a fun and interactive play. 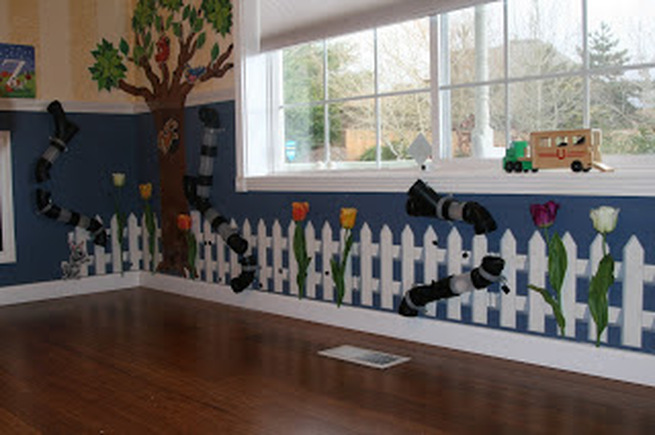 I call this tunnel system tulips and tunnels. We combined the clear ketchup bottles with PVC pipes and connectors. The tunnels are attached with grey plastic electrical fasteners. The tulips are attached with velcro so the kids can pick flowers This is a fun and cheap way to inspire the topic of weather and how we dress for it. Found the boy and his clothes at Learning Palace. 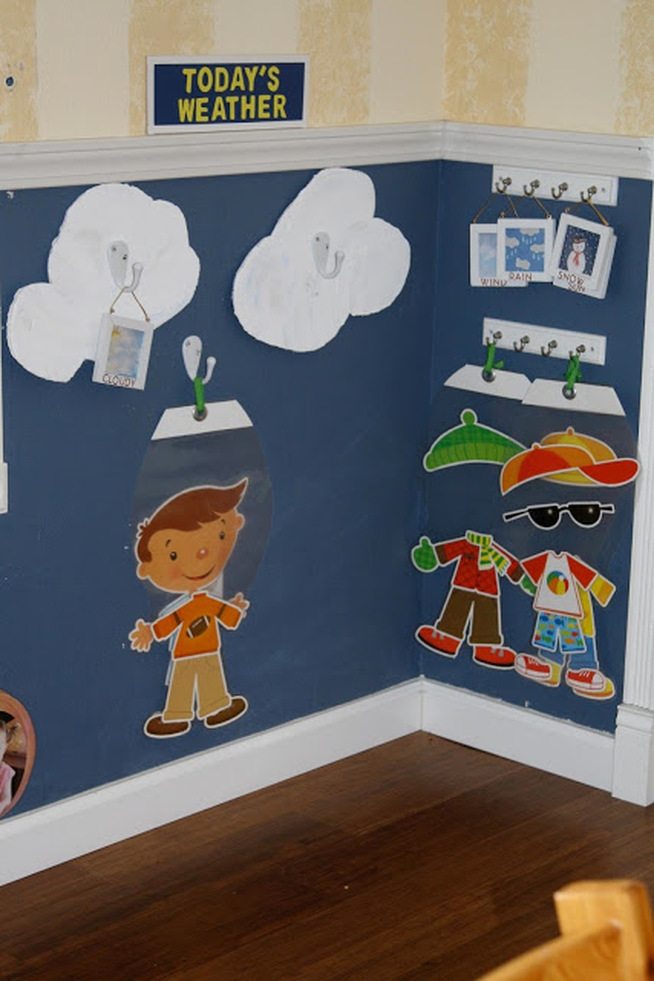 I covered all in clear plastic shelf lining and added rings to hold the string.
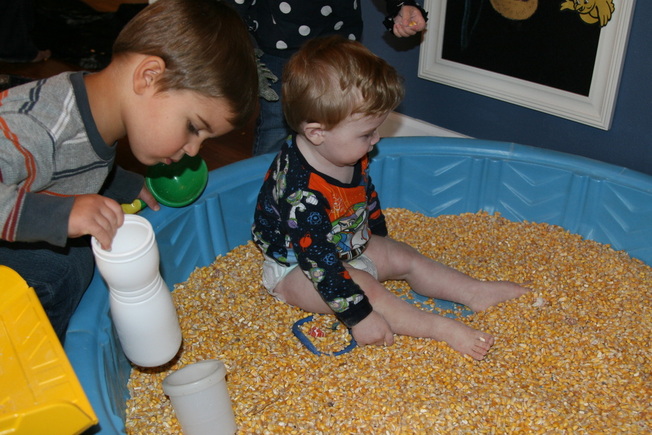
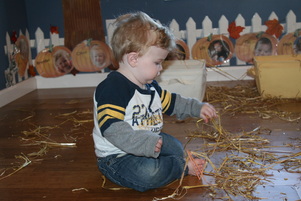
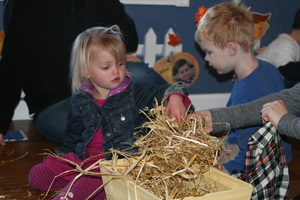
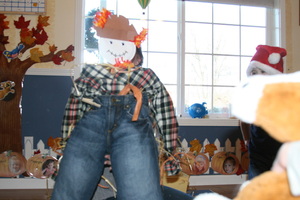
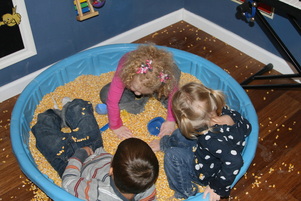
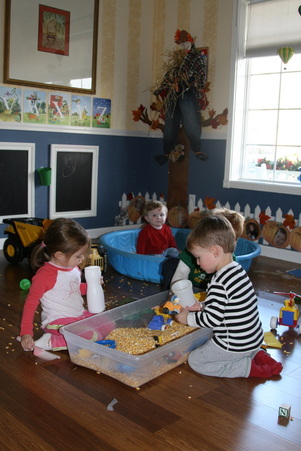
I made the clouds out of cardboard and painted them white. The weather signs are from printouts off the internet and placed them in these cute little frames. We use this everyday! Children's wall of art.. a great theme for your child's next outdoor birthday party, a fun playdate or just for your munchkins. Kids love to create. The messier the creation the better the creative! Make sure to tell parents that the kids will need a second set of clothes to change into. 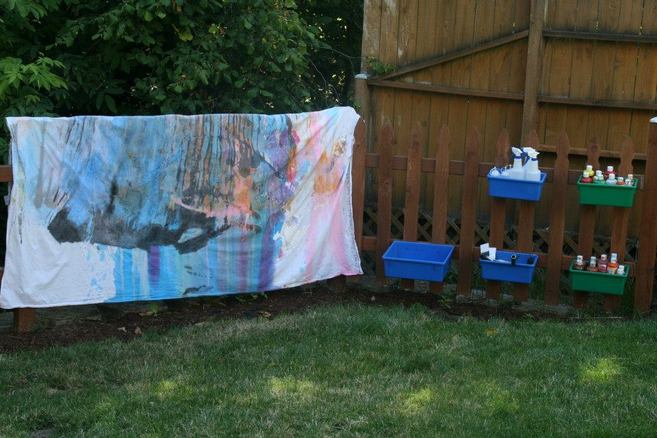 Here's a photo of an art wall made with white sheets. If you don't have poles to attach the sheets, you can use two easels. Just place one on each end of the sheet. For best results, get some stakes at a hardware store and line up two or three sheets to make a long wall of art. For younger kids, make sure that the sheets are lower. If possible, try to set the art wall up so that the kids can go around it and paint the other side. Or just opt to hang over a fence like we did. I placed a few paint bins on the fence so its a one stop area and more organized. The kids can play with fun paint props like spray bottles, squirt bottles large rolling brushes and fun paint on decals. In a grand effort to give my kids the best foot forward, I have been introducing education fundamentals through play. After reviewing tons of eduction sites, I came up with a weekly curriculum that is used in pricey preschools and day care facilities . Now my munchkins can have quality mommy time and a great education without breaking the bank. It's so rewarding to see the light go on and be there to experience it with them. The effort and time to create these activities is minimal compared to the rewards! Give one a try! 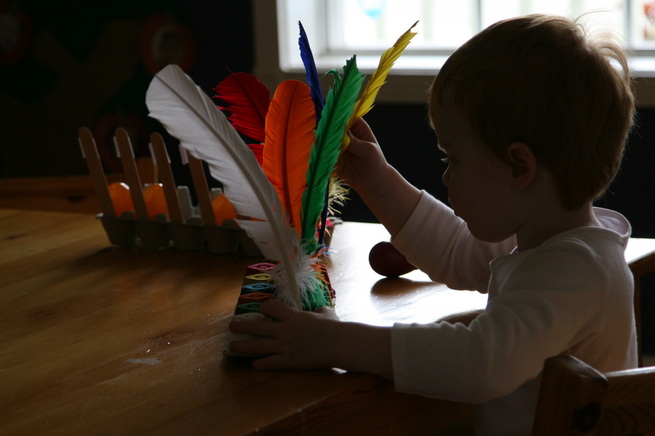 Here are three of our favorite activities where the kids learn to sort colors, letters and numbers with spring related items. This is a fun one inspired by the Fall Season. 1 bundle of hay will go a long way. Just place the hay in several containers and let the kids have fun exploring the texture of the hay
Here's a fun way to organize your play area 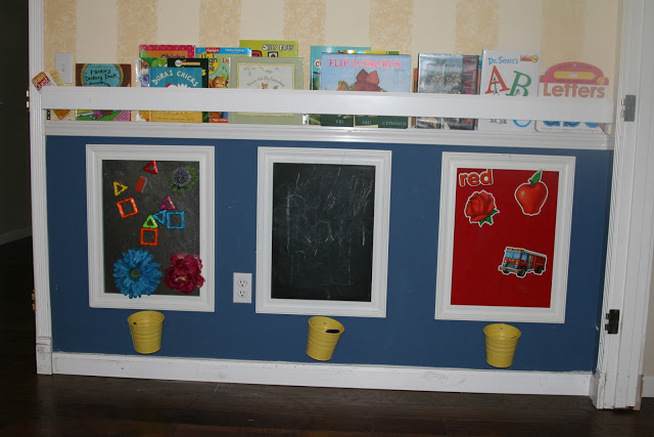 Picked up these frames and removed the glass. For the magnet, I cut metal to the size of the frame. You can pick up a sheet from Home depot for close to nothing. I created the chalk board by using chalk paint on the back part of the frame. The last one is a felt activity. Just cut out some felt to the size of the frame and hot glue around the sides. The buckets below catch all the objects suited for each station. I change the felt out weekly to cover new topics of interest. We use the chalk board everyday! This is a fun, cheap and easy way to organize and inspire ! When we bought the house, this was originally the dining room. The white molding separating the yellow stripes from the blue was already in place. I created the book shelf above the frames by using L brackets to suspend a strip of baseboard from the wall. Total cost was $5! 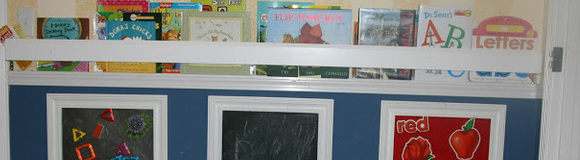 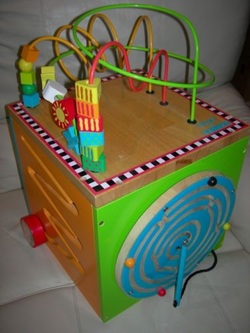 I bought this activity cube at a yard sale for $1. One of the sides were missing an important piece so the owner let it go for close to nothing.  I unscrewed all the sides, cut down a 2x2 beam into four pegs for each side and suspended them on the wall. I used L brackets to support the pegs. They are out of the way and the kids still play with them all the time. Best part is, you can switch them out with other activities cubes of like size!
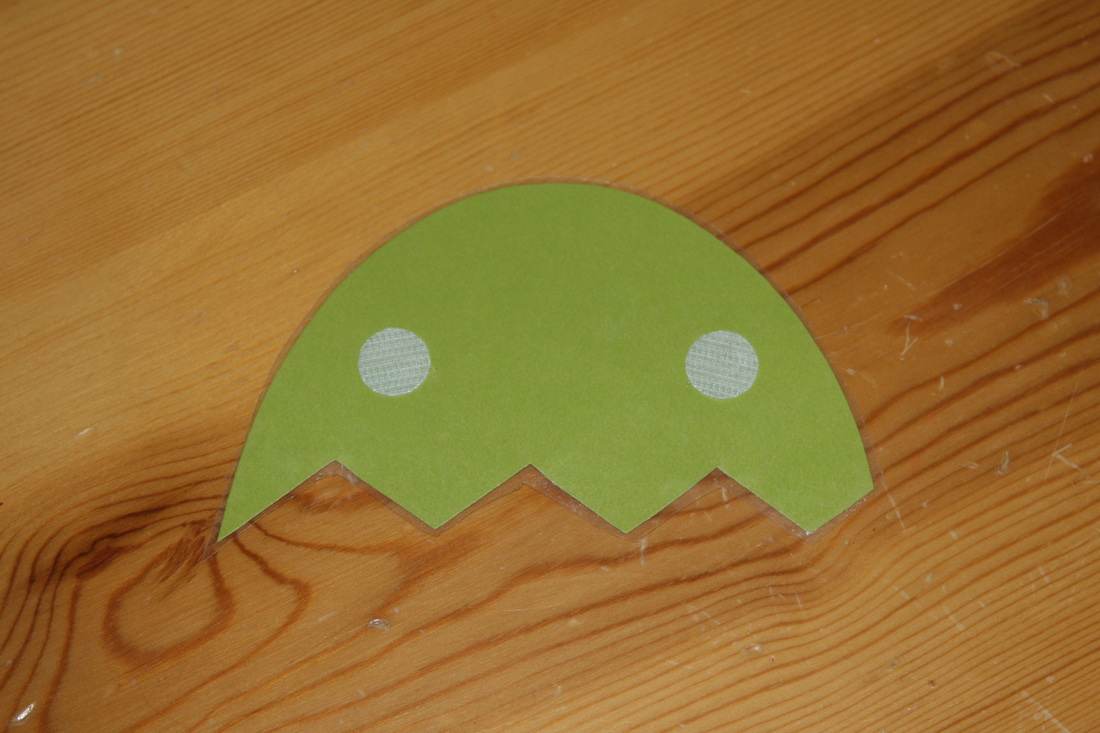
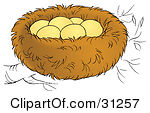
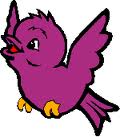
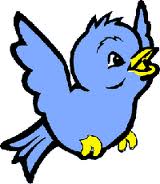
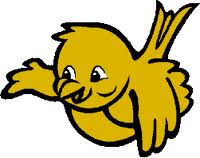
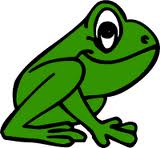
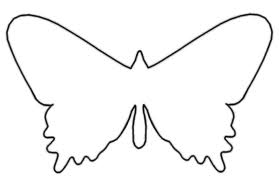
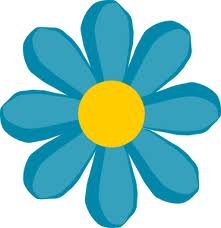
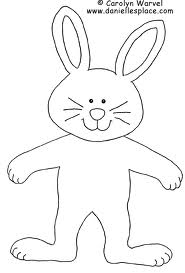
Do it yourself-Felt activities your child will love 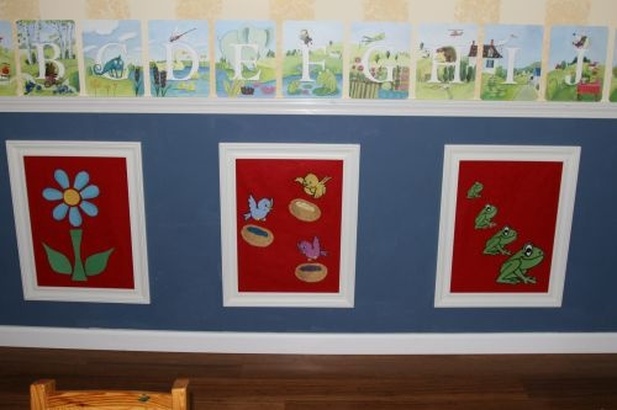 This interactive felt activity board is a great addition to any playroom. Not only is it great as room decor but it also serves a rewarding purpose- educating your child. Felt activities are a fun way to learn colors, shapes, numbers, seasons, sizes, sorting and so much more! This learn through play method offers a fun approach to mommy & me learning. After you walk your child through the activity, watch them come back on their own to figure it out over and over again! Here the kids learn how to build a flower, match the bird color to the color of eggs in the bird nest, size up the frogs, build an egg and build a bunny. Here are a few other ideas on how to make learning fun with your child.  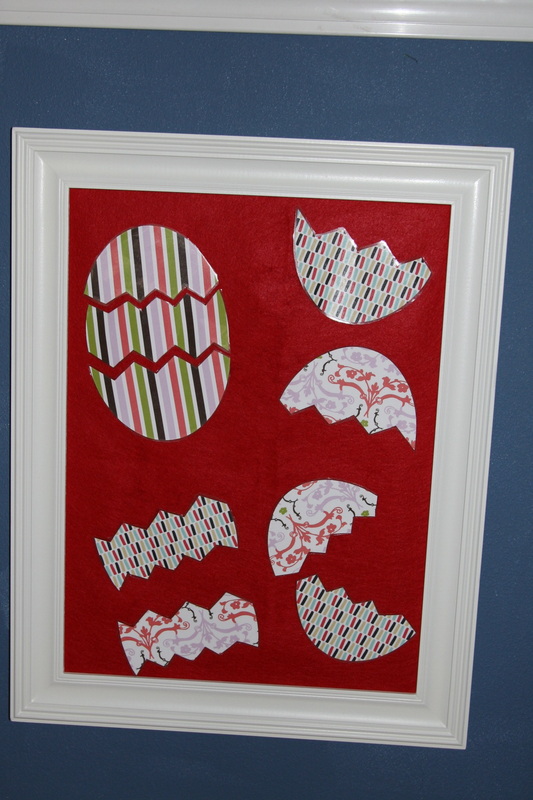 Making a felt activity station: You can buy a frame or use an old one. I used some old frames to create these adorable felt activity walls for the kids. Take out the glass, cut a large piece of felt and glue it to the backboard of the frame. Now you have a fun activity station ready to go for the kids. For the felt activities: just pick up some clear contact paper, print out an image you want to create off the web, wrap in clear contact paper and attach velcro (rough side) to the back of the covered image. I used these images to create a bird and egg color sorting activity Cover all in clear contact paper and place rough side of velcro on back of each.
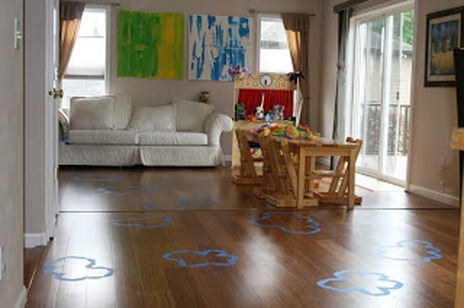 This is a very charming set up and the kids will absolutely love it. The theme
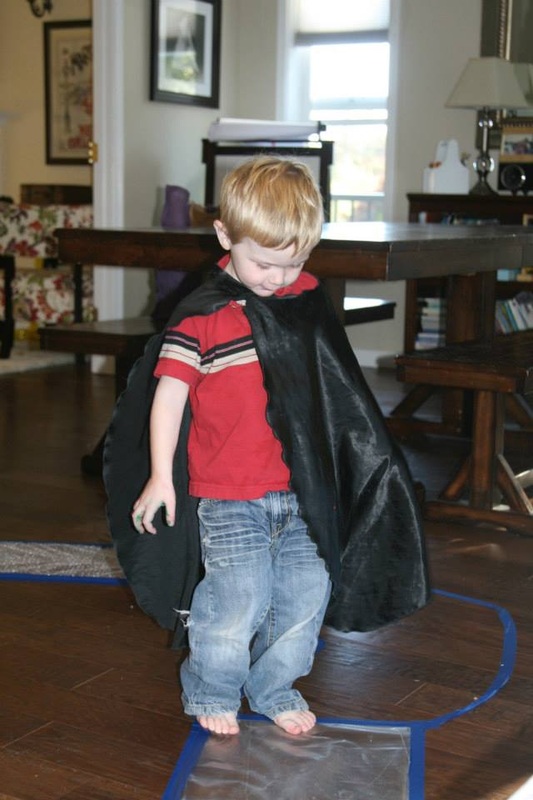
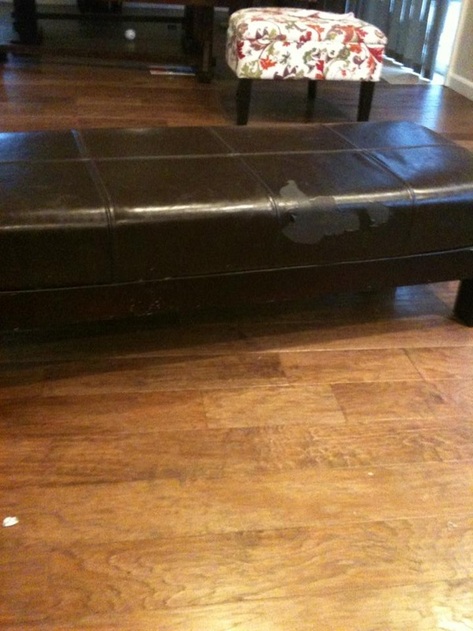
is whimsical, musical and educational. During the playdate, the kids make their own streamers. You can use ribbon, felt strips or any other kid safe string. It's best to tie the ribbon around a large ring. You can use plastic shower curtain rings or large plastic bangle bracelets. The kids will be waving them around while hopping from cloud to cloud so you don't want to use stick like objects for the streamer handle. We used blue painters tape to form the cloud shapes on the floor. We chose painters tape because it doesn't leave any residue or glue after you remove it. When the kids arrive, let them make their streamers as the craft activity and then for the fun, have them jump from cloud to cloud. Play some music as they hop. Stop the music to see who hopped the most clouds. Play again to start the hopping. Make sure the clouds are close enough so their little legs can reach each cloud in one hop. During this palydate, the kids learn fine motor skills while making the streamers, following instructions with the stop and go and muscle development with the hopping. The playdate also has a fun take away-the kids will enjoy taking their newly made streamers home to show dad! Kids love cardboard boxes. Next time you are about to throw one away, think about something fun you can make out of it. Here are a few ideas on cardboard fun! 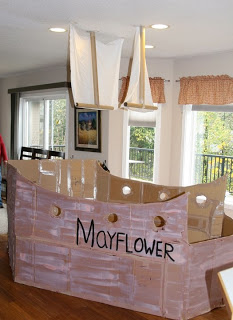 For Thanks Giving, we wanted to have a unique playdate that had a different theme than making a turkey or leaves. I invited our friends to come sail the Mayflower at our house. As a craft activity, we had them make binoculars so they can spot Plymouth rock. This construction took 7 rolls of duck tape, 7 large boxes and 21 hours. A bit over the top but an amazing playdate! 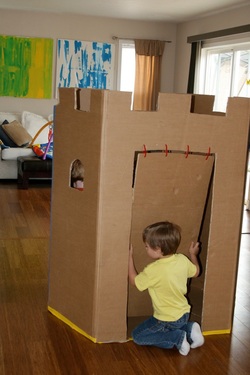 For class, I built the kids a castle out of cardboard. This only took an hour. The kids played with the castle for an hour. My 2 year old destroyed our beautiful leather ottoman. Instead of throwing it away, I pick up some fabric and made a slip cover for it. I opted for doing a slip cover so I could remove it and wash it when needed. Things tend to get messy with three toddlers about ;)
 Found this huge ugly green ottoman for $40 and redressed it in this fun fabric. 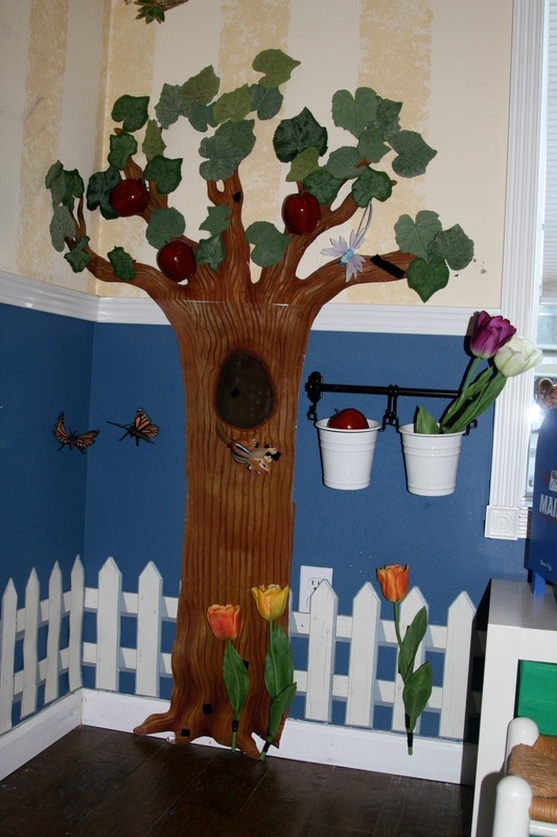 Our interactive Tree area is taking on a realistic life of its own. 3 years trying to find birds that look real and are play safe. Just found the butterflies and green leaves My favorite thing about this play area is that it suits all three kids perfectly. Charlotte just loves pulling the items off the wall (everything is attached via velcro). Brendan and Liam play together building the scene each day. So sweet to watch and play with. 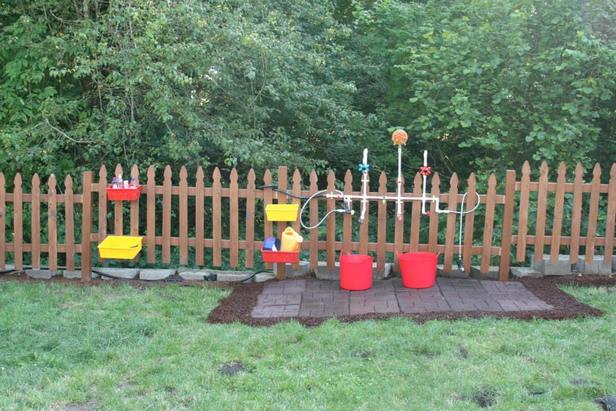 I recently created this fun water station for the kids. The rectangular buckets are holding water balloons, water play toys, bubble solution and materials to make the bubbles. I hooked various bubble wands beside the bubble section so the kids can play with the bubbles on impulse. The square pieces are from home depot. They are rubber so the kids won't make a muddy mess. On the sides of the water structure are water spray guns for a water show down. Each part of the water structure has on/off valves so the kids can manipulate the various functions of the structure. 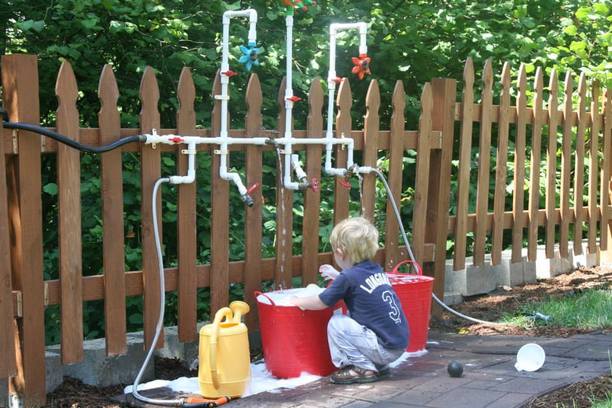 I placed large red buckets beneath the water structure for sensory play. Mr. Bubbles solution is a huge hit. The suds erupt all over the floor and the kids just love it! The structure itself is made of white PVC pipes and various water valves/sprinklers. 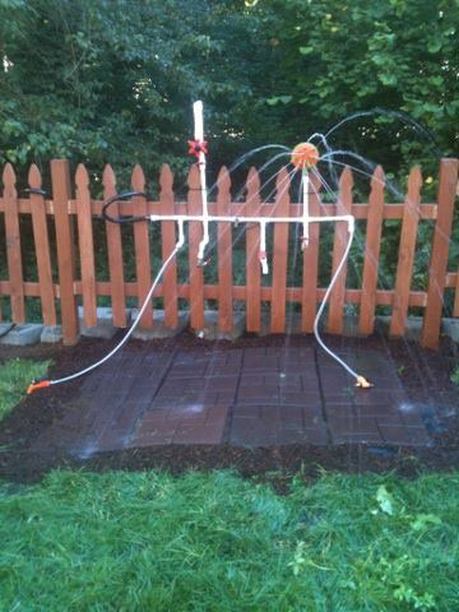 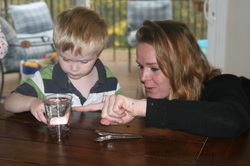 Get a clear cup, pour in club soda and let the kids insert the raisins. In seconds, they start to fizzle and then dance around the cup. Make sure you have plenty of raisins ;) they're sure to want a dancing party! To build on fine motor skills I gave the kids tongs so they can catch the raisins when they reached the top.
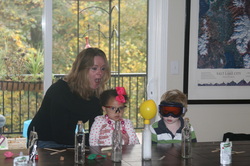 The kids really enjoyed this one. Pick up four bottles and four balloons. Put different amounts of vinegar in each bottle and pour different amounts of baking soda in each balloon. Watch with amazement as the baking soda sprinkles down from the balloon into the bottle. 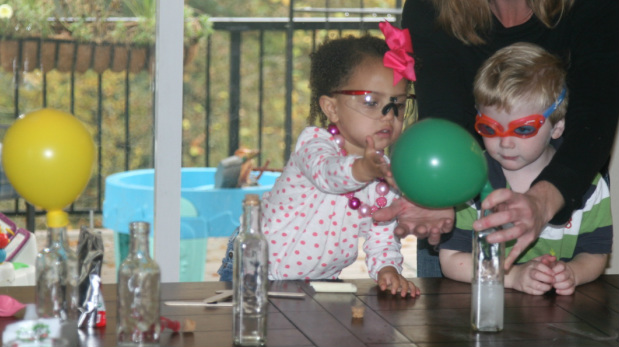
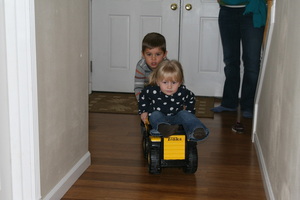
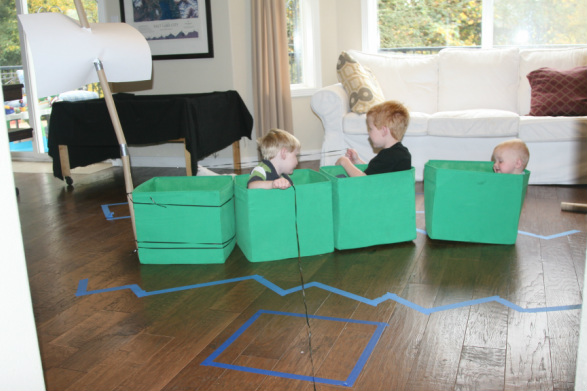 This is a fun activity to keep the kids busy. I used our toy bins to form the ship. I duck taped three paper towel dowels together and white poster board to form the sail. To create the water, I used blue painters tape to form waves on the floor. 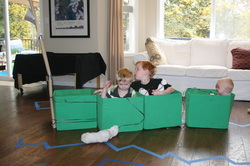 As an activity, I stuffed old socks with newspaper and tied with a long string. These became the anchors. The kids were challenged to anchor the ship by landing the anchors in blue squares alongside the ship (also created with painters tape). 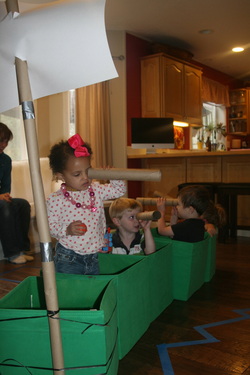 As another activity, I gave each kid a paper towel dowel and had them search for land. To further encourage role play I pretended there was a huge thunderstorm and the waves were crashing in on our ship. The kids used the dowels as rows to get us over the waves. We spotted fish and sharks in the sea. The anchors then became fishing poles were the kids caught the green bins and reeled them in. Super fun imaginative play sure to last for a few days!
|
Raina KennedyAuthor Categories
All
|


 RSS Feed