|
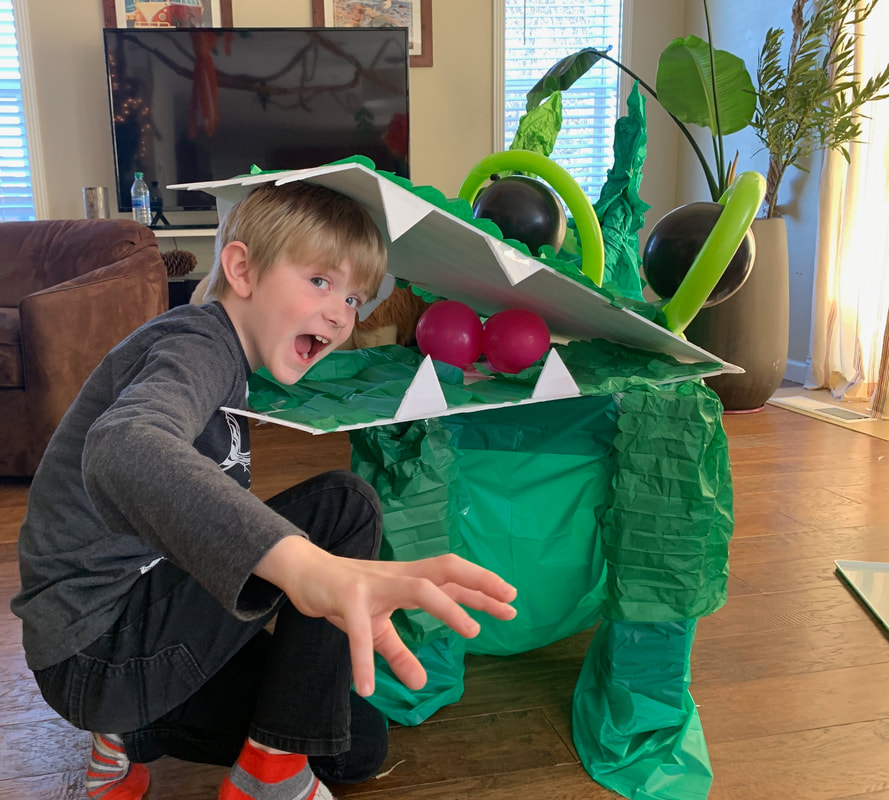
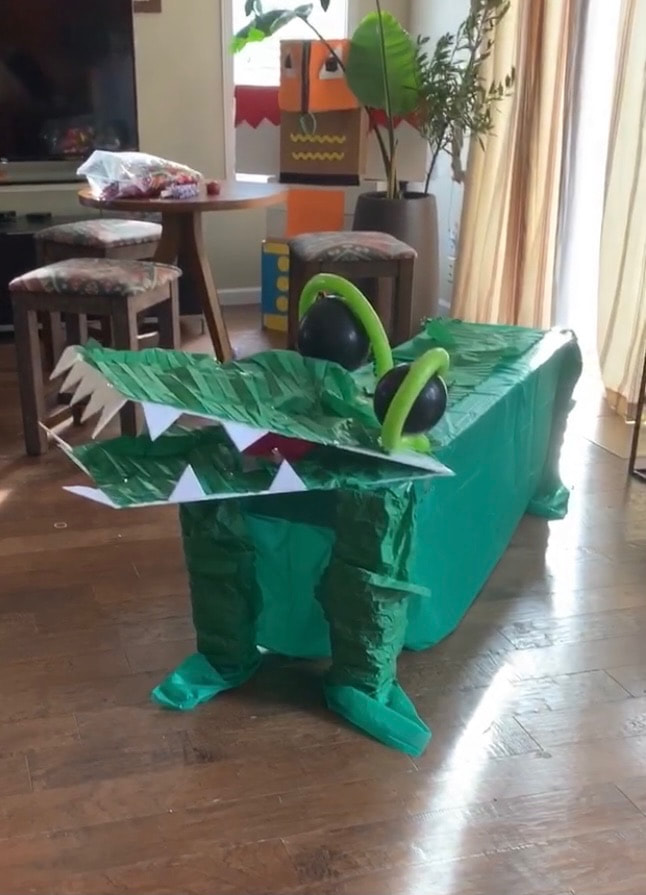
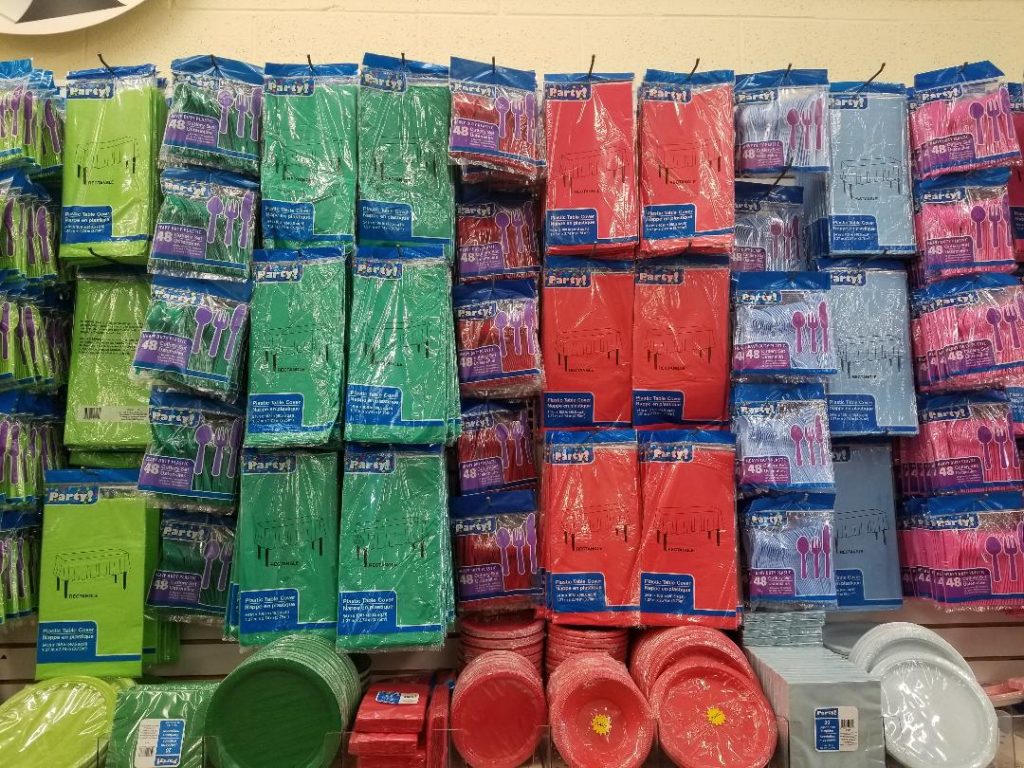
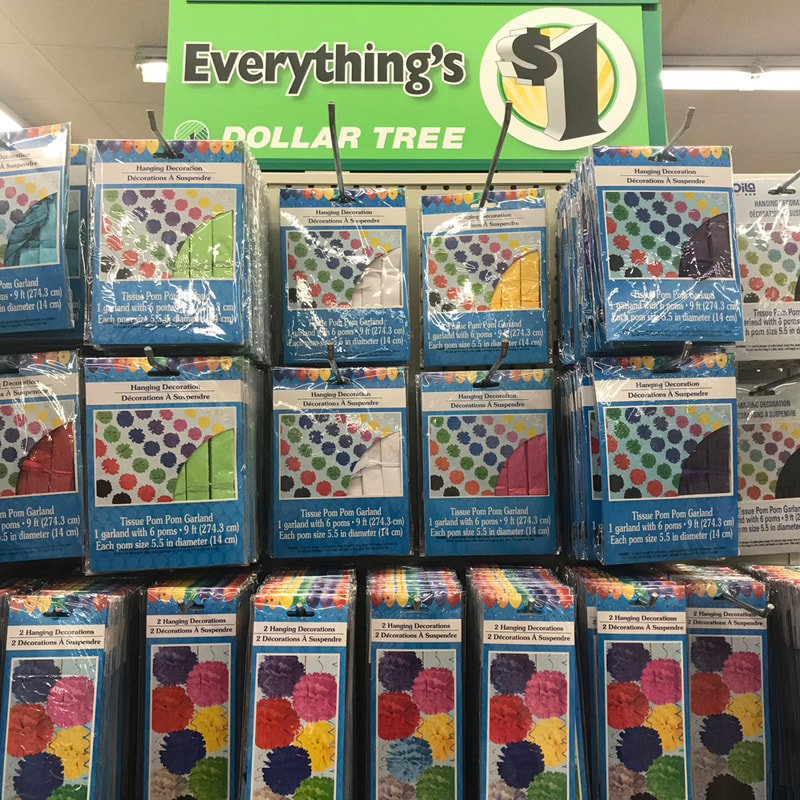
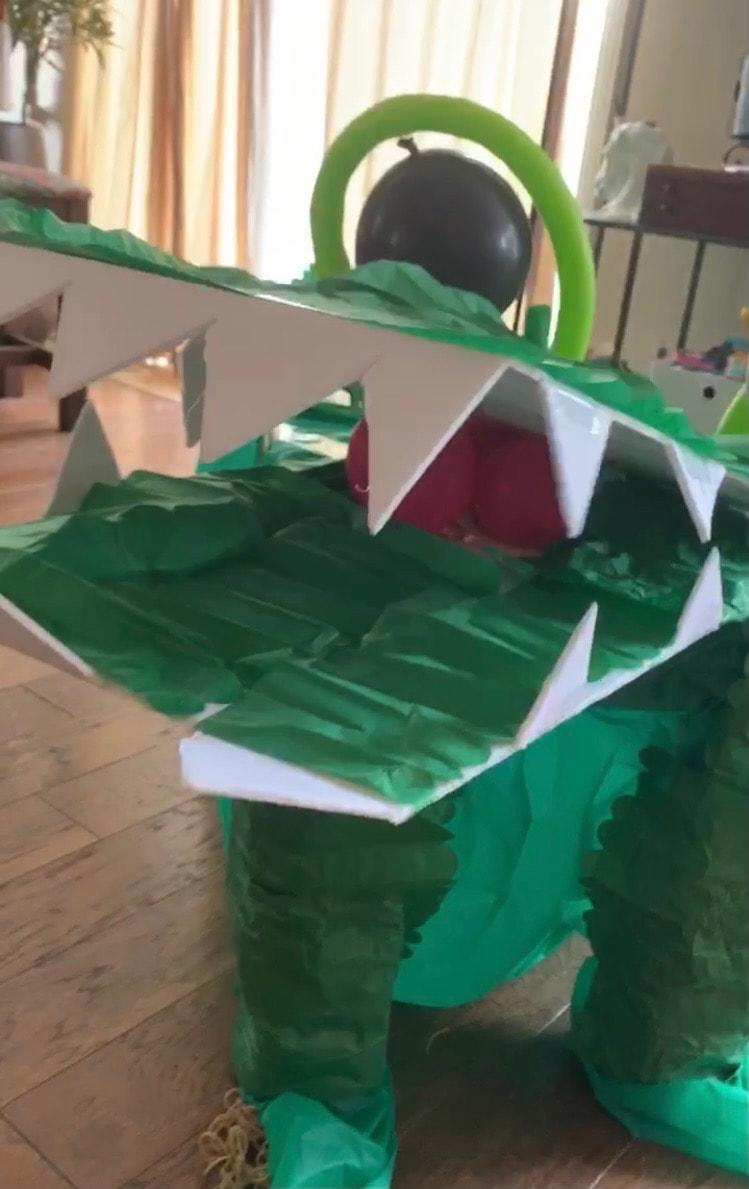
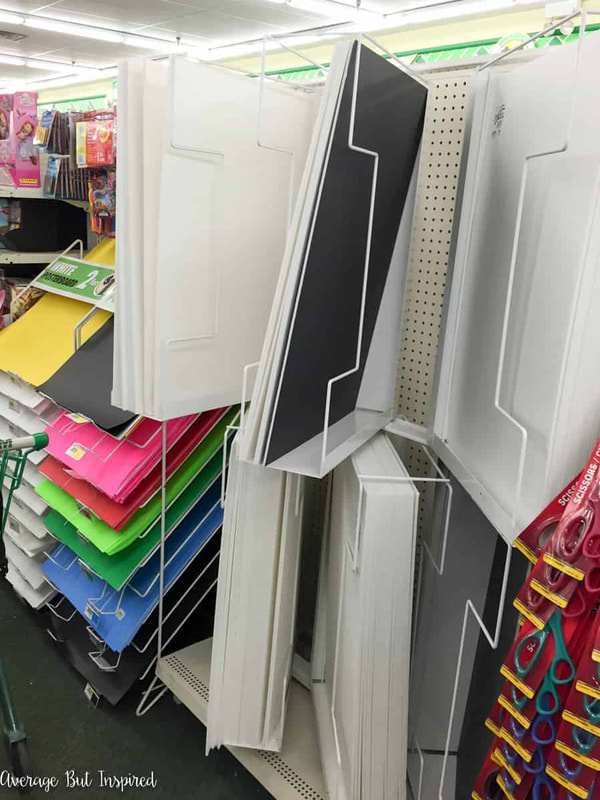
The alligator was a great addition to our Hide and Seek Jungle theme. What a fun birthday party prop. It was interactive, decorative and functional... Our birthday cake pictures came out so cute. All materials were purchased at our dollar store. I used animal and regular balloons to create his eyes. The Alligator frame is our dining bench. A perfect transition piece from hide and seek to eating birthday cake on an alligator. I used green plastic table cloth to cover the base, green party napkins to give texture to his legs and paper Pom Pom's to give a scale look. His materials cost $5 to make His mouth was interactive. Kids had fun putting their heads in there. They also fed him cake. I used 2 foam boards. I cut a strip from each foam board to make his teeth. The red balloons held his mouth open.
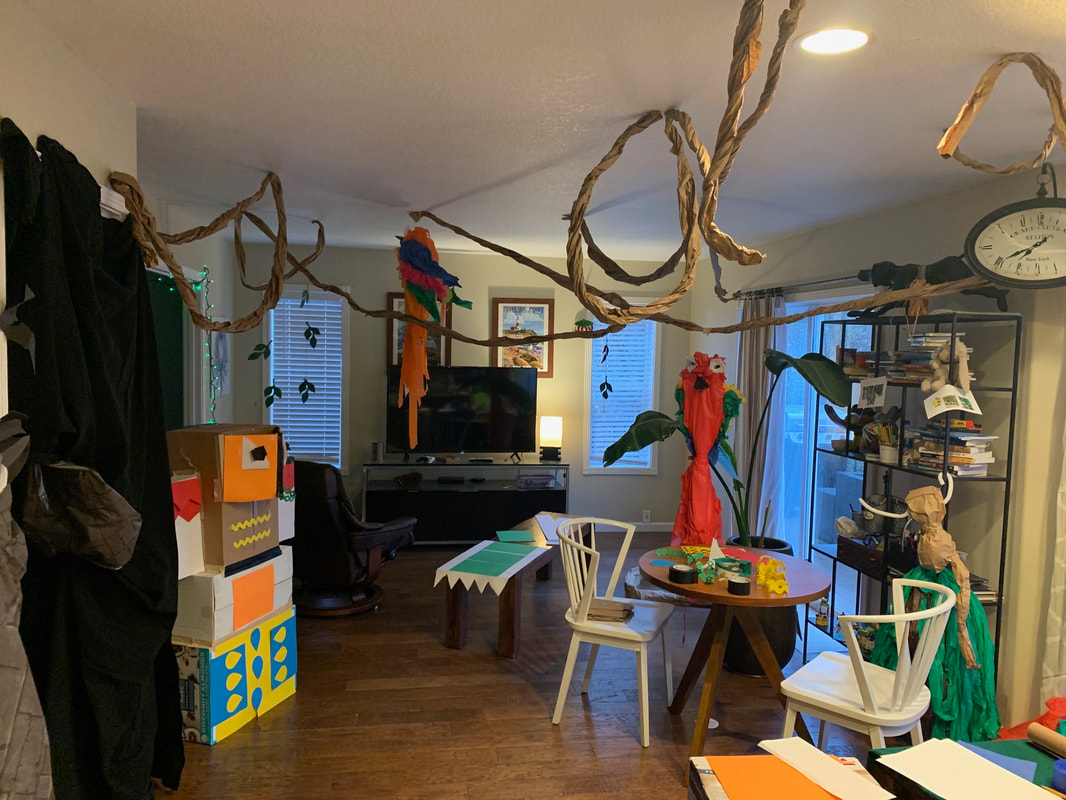
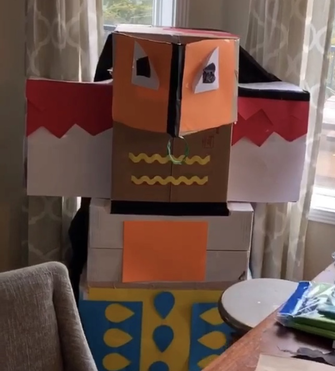
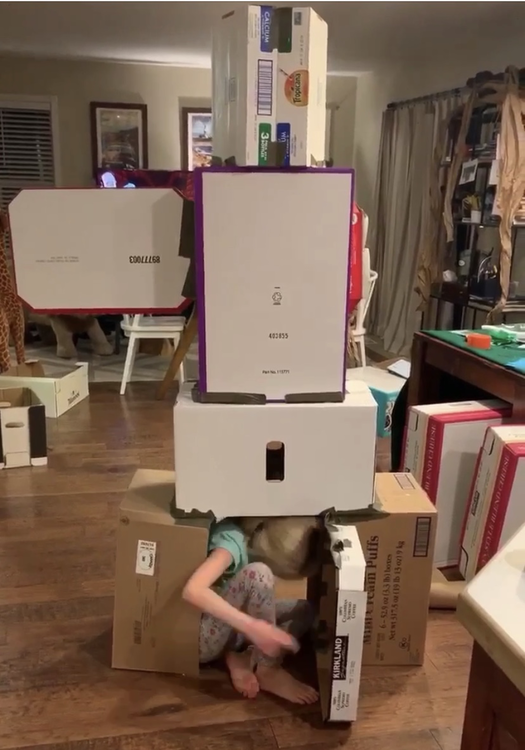
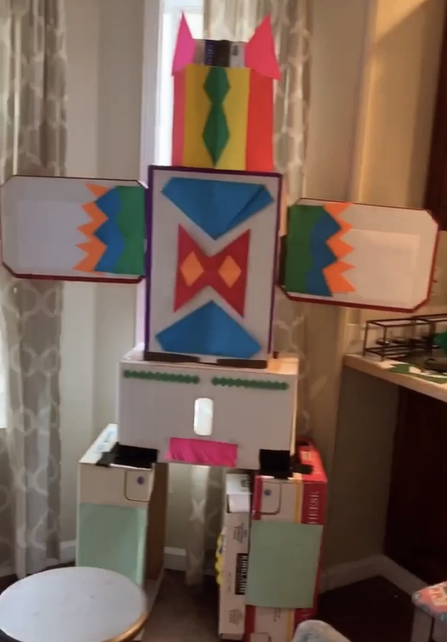
What a fun project, just because. Totem poles are a great Jungle party addition. They totally add to the theme design aesthetic. Make them interactive and watch your jungle come to life. Not interested in building a cardboard totem pole? Go grab those free boxes anyway. These were a hit the moment the entered my front door. The Design and Inspiration Phase This is such a fun birthday party theme for kids. Follow along my journey as I build out a hide and seek Jungle World for my daughter's 7th Birthday. This is a birthday on a budget. Many of my hide and seek props and jungle decor were made out of Dollar Store plastic table cloth, napkins and craft board. The hide and seek activity inspired this to become an interactive jungle world. Having an activity built into the theme made this party a huge hit.
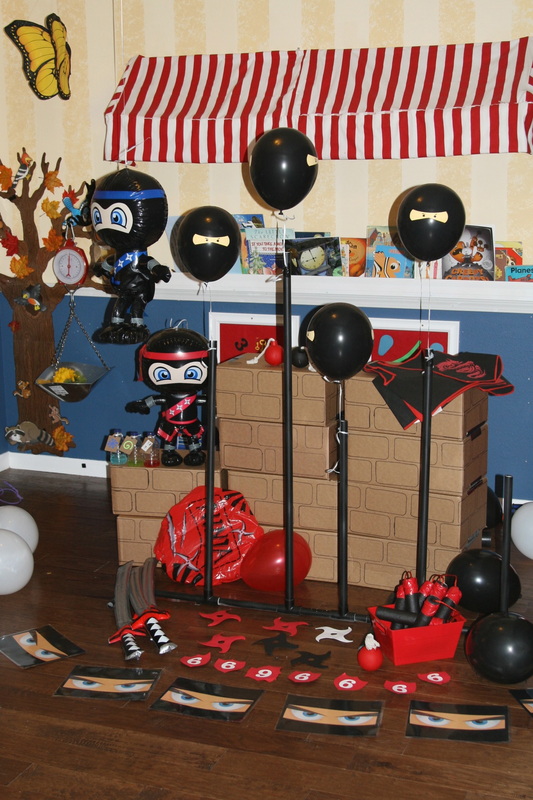
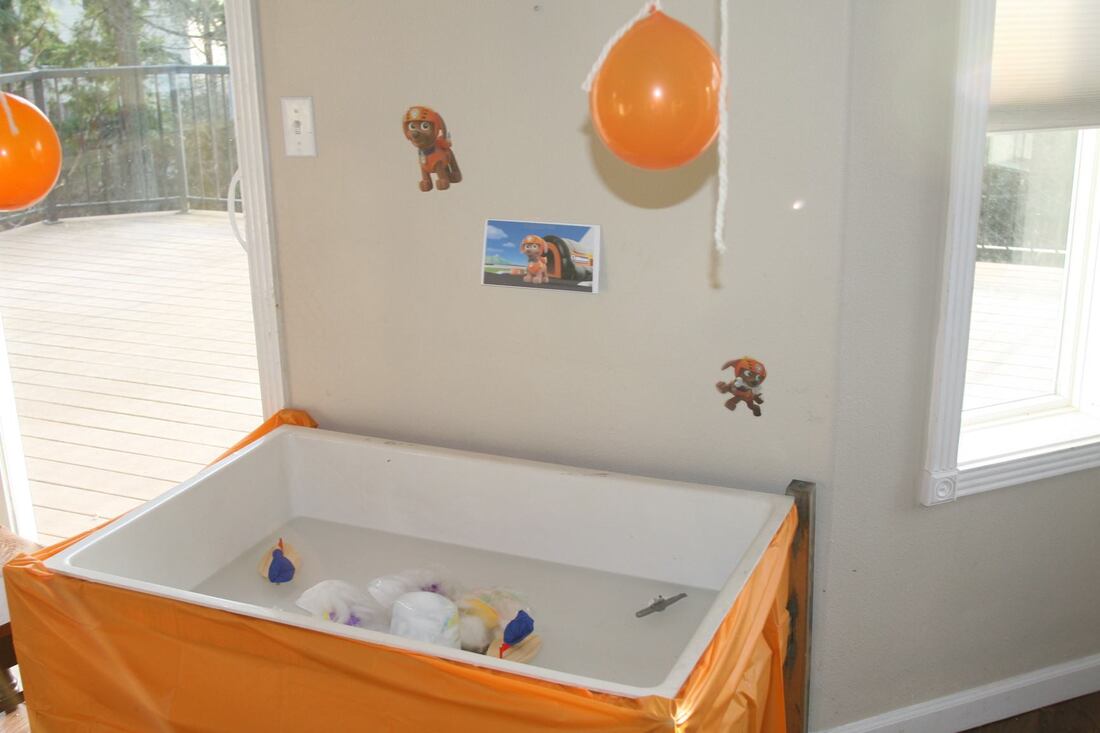
Here is my take on the ninja birthday theme. I found so many great ideas on Pinterest. I was also inspired by the Clumbsy Ninja App. My boys love that game. This is a fun theme with lot's of sensory activities. The Paw Patrol team consists of water play, sky catching, construction mining, recycled spy gear, fire dashing and policing. These areas of interest offer great sensory and motor activities for a kids birthday party. It's virtually management free with structured entertainment. Here's what I created based on each dogs interest. Zuma's Water Play
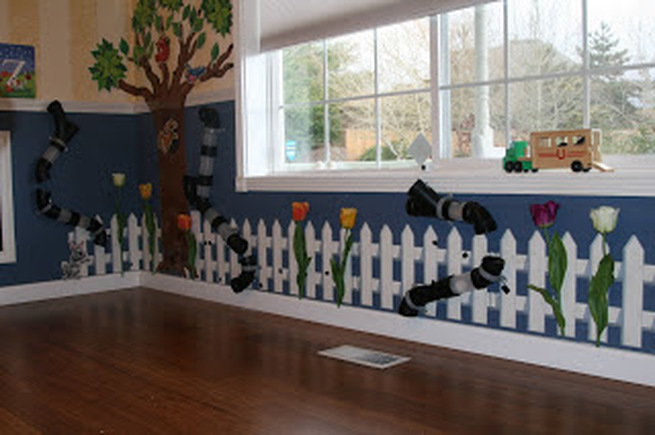
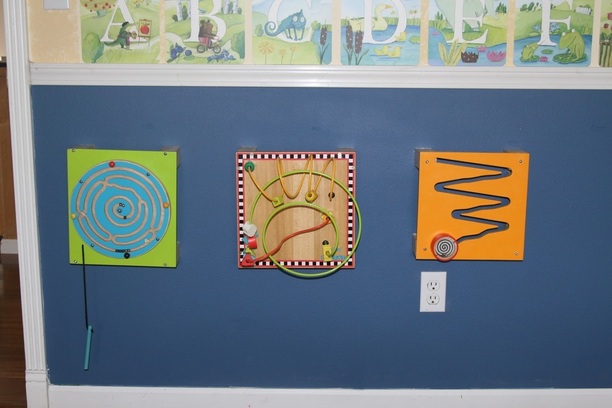
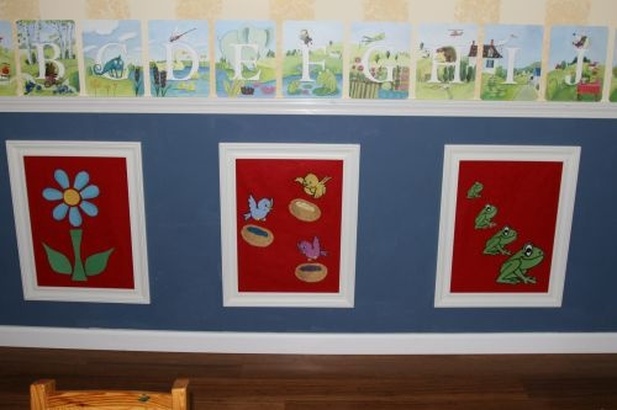
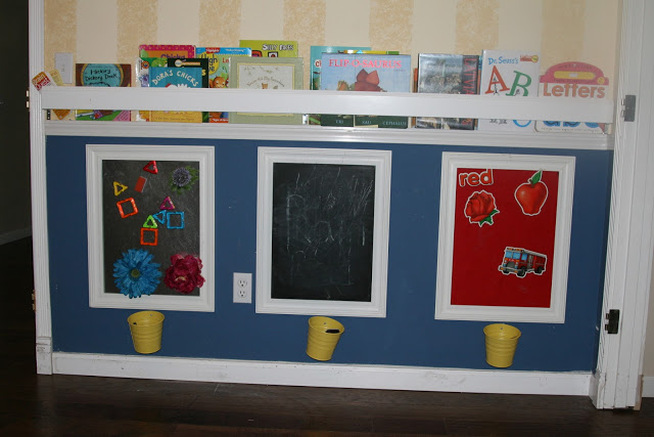
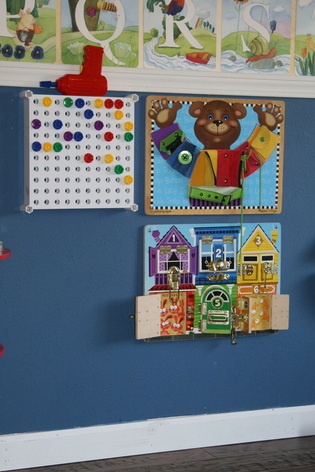
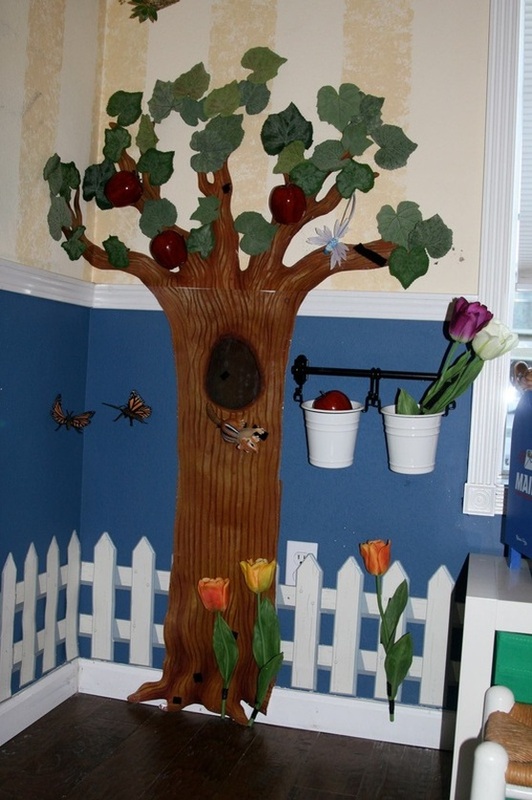
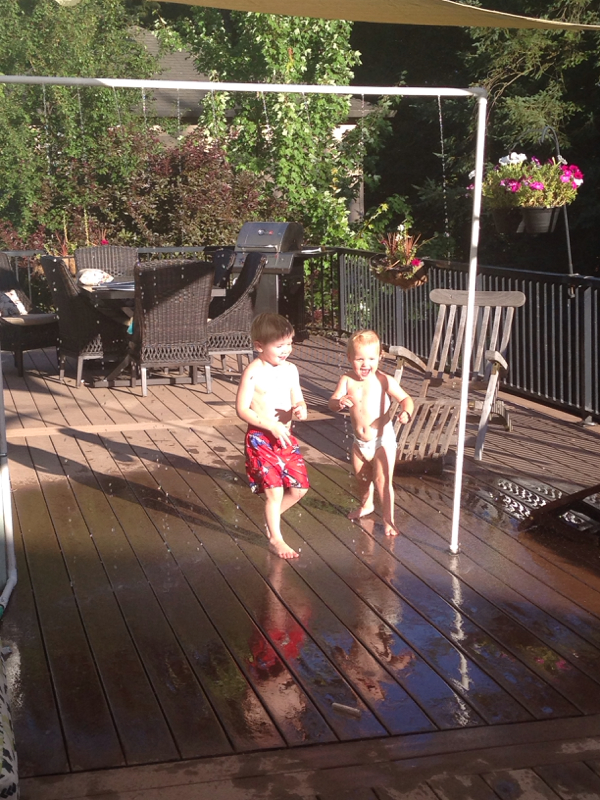
I love re-designing our kids playroom. Our once dining room is now the most active room in the house. Initially, I got drill happy. I attached just about everything to the walls. The room looked amazing and the kids loved playing in it. Here are some of the fun things I created for them. I'm learning that the simpler the feature, the more the kids play. This feature took 15 mins to make and thus far is the most popular in our backyard play scape.
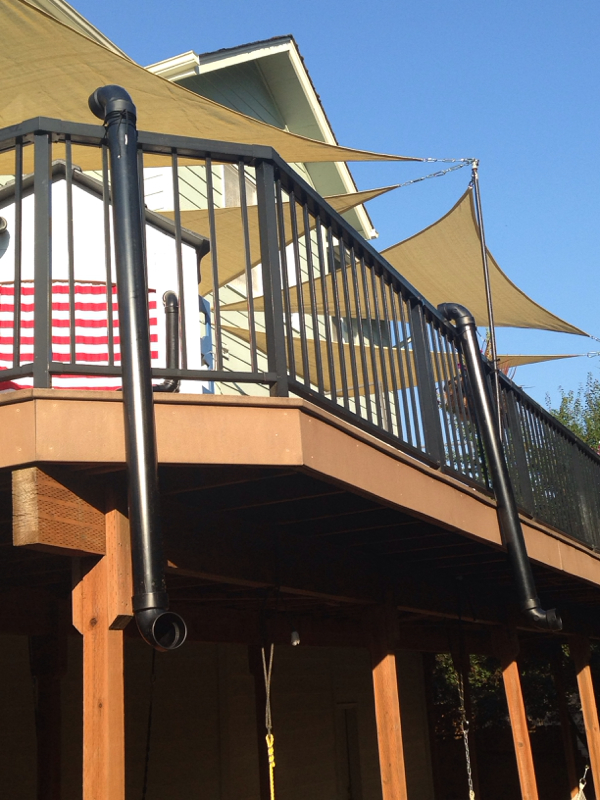
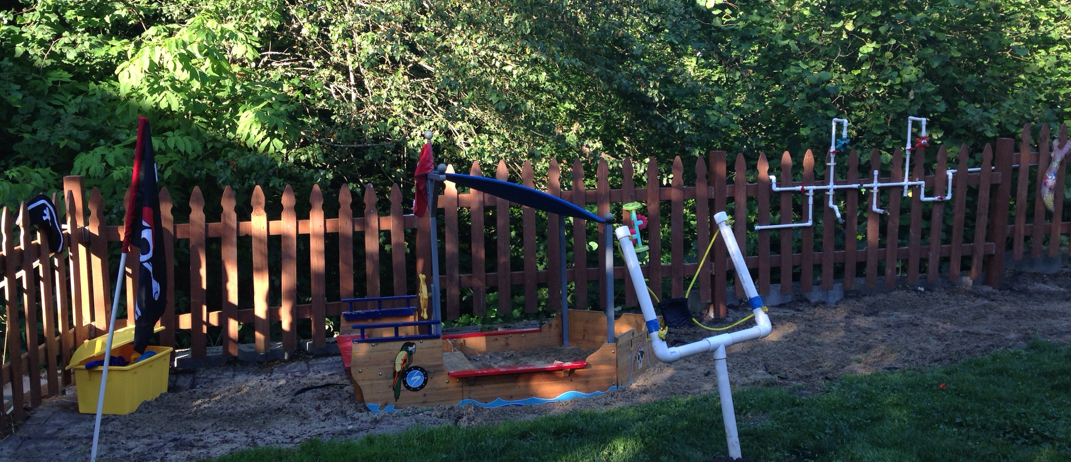
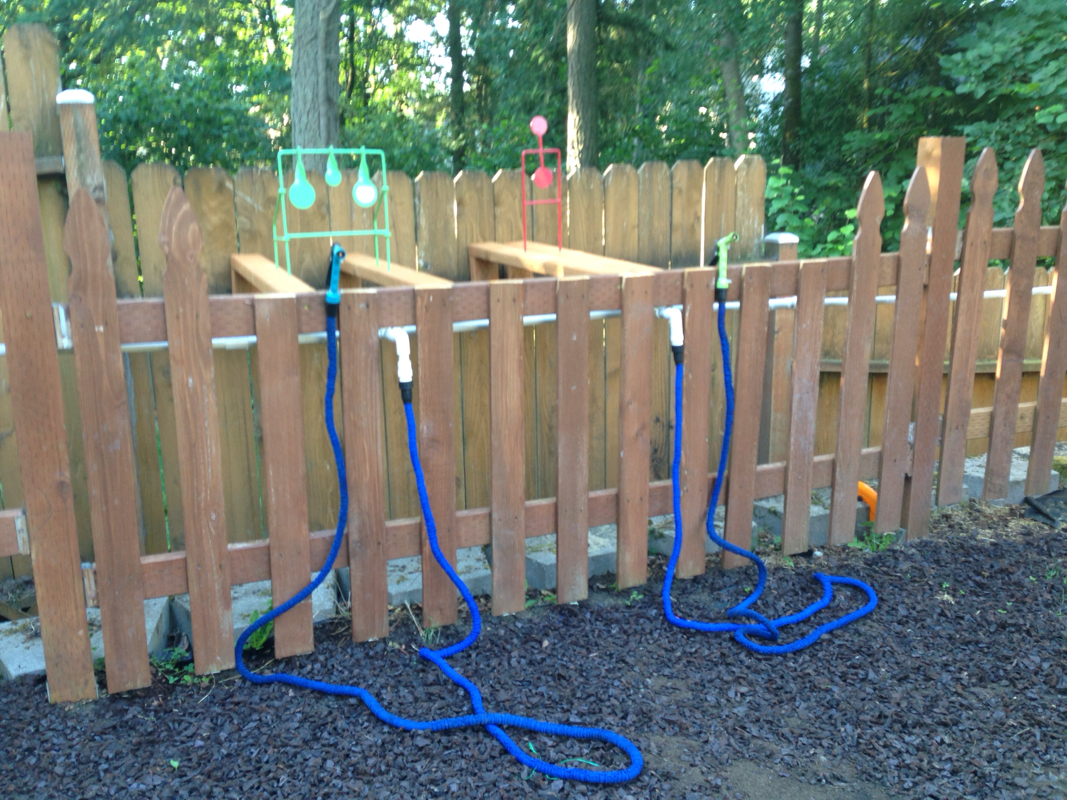
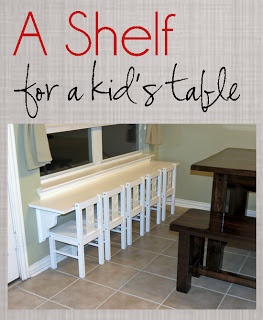
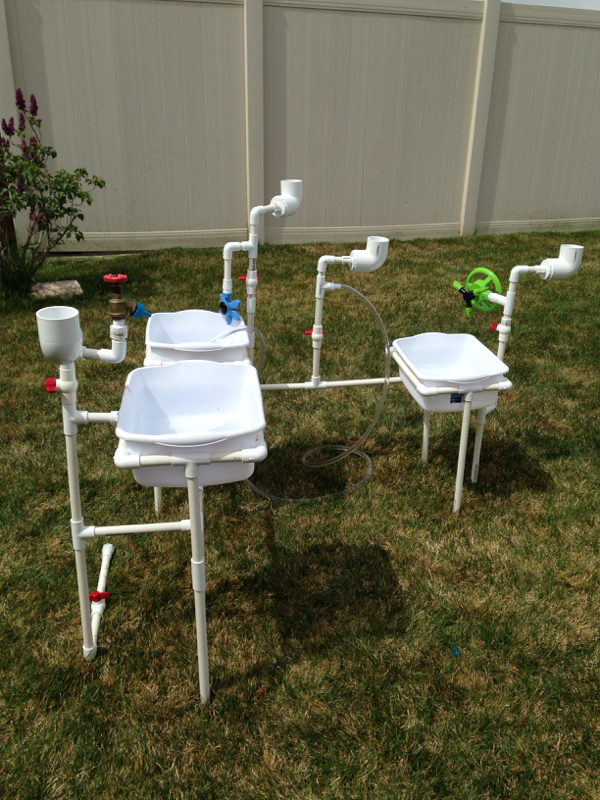
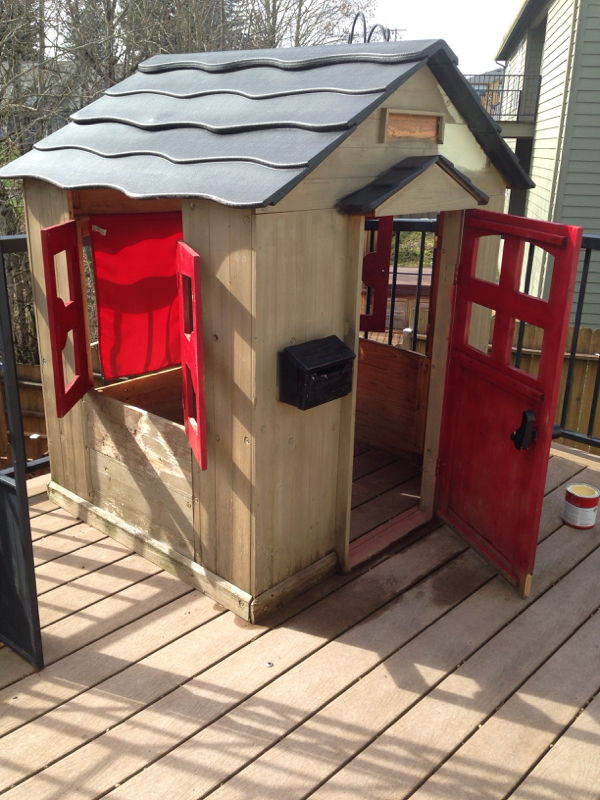
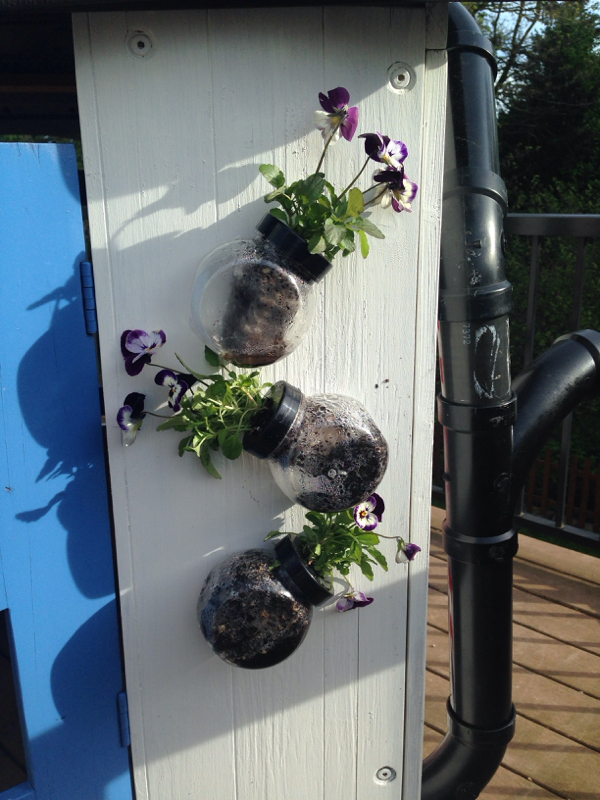
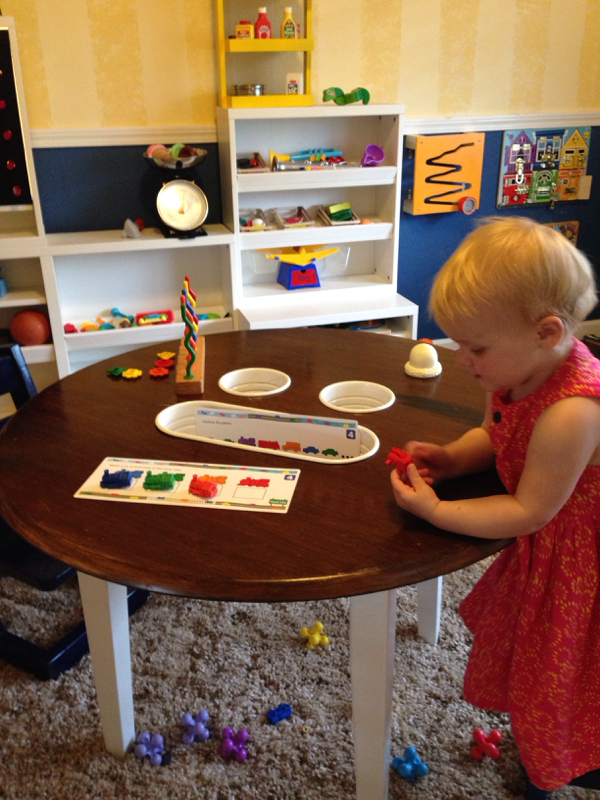
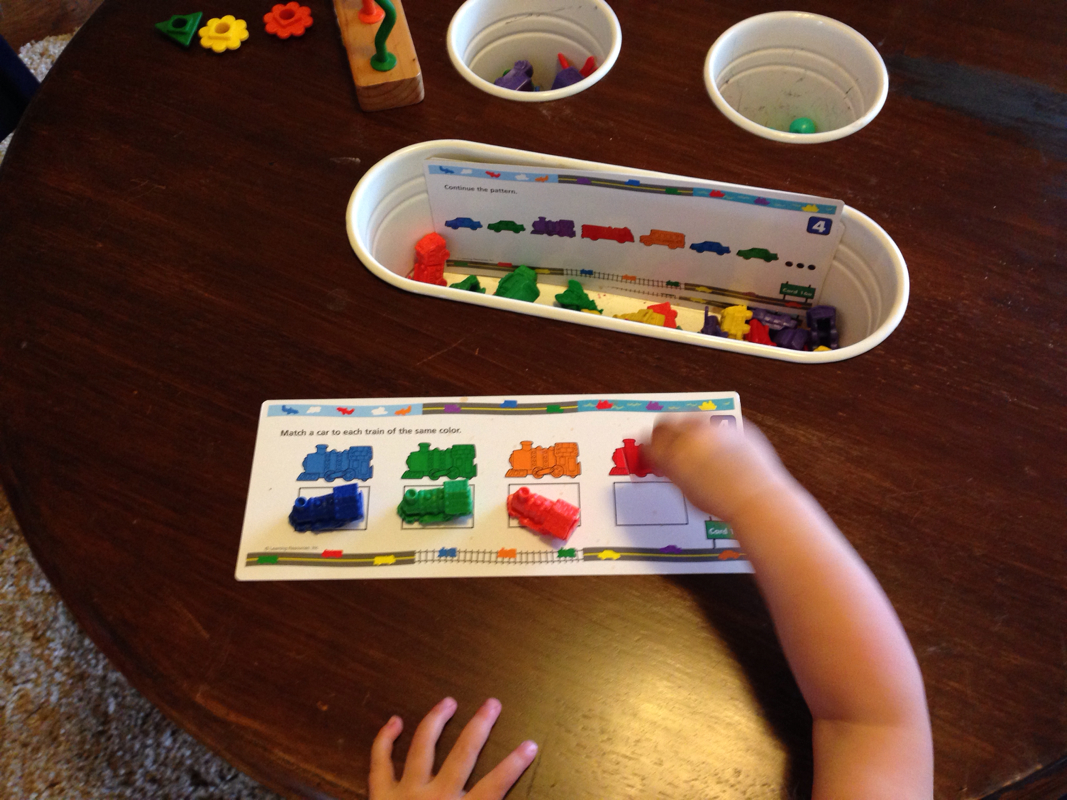
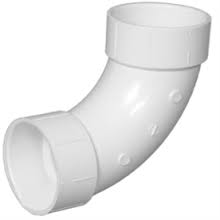
I used 3/4 thick PVC pipes, three 90• elbow fittings and one hose to PVC pipe fitting. I drilled holes through the top of the structure, spacing them out about 3" wide. The kids love running through the structure but also love trying to escape the water by going between the streams (the drill spacing). I used PVC cement (glue) to hold the pipes together. Total cost is less than $10! We have a tall deck but you can install these anywhere in the backyard. The tunnels are made with black PVC pipes! 10 minutes to make, hours of fun! I chose a 10ft 4" wide pipe. I cut it in half to make two 5ft tunnels (any hardware store will cut them for you). I added 90• elbows to the ends of each and tied the pipes to our deck railing. I scored a huge bag of bounce house balls for $3 at a yard sale. You can buy these anywhere for about $20 though. I chose these because they're soft and perfect for sorting activities. We count the balls as they go down and have the kids drop them by color. Add to the fun by having other kids hold buckets and catch the balls as they are dropped. Or, give them tennis rackets/bad mitten to hit the balls as they shoot out. The activities are endless! As an extended feature, I added hoses nearby so the kids can shoot water down the pipes! From below, we use funnels to catch the water. This is a fun sand play area. The pirate ship is washed up on a beach. Kids can play with sand in and out of the ship. It's such a fun theme for dramatic and active play. I used PVC pipes to create the sling shot, filled the beach area with real beach sand, placed several pirate accessories around and built a fun hose powered water station. This is a fun new feature I added to our backyard play scape. The kids can hit targets using water guns. The spinning target is the best. I plan to get one more. I purchase them for about $10 each through pyramyd air. To anchor the spinning target, I drilled a hole into the 2x4 and slid the target legs through.  I used PVC pipes to connect the hoses to the station. We have several water features and the PVC allows me to control which station is being used at a given time. This is the shut off fitting that connects the pipes so you can turn the water on to reach all stations. The shut off valves are by each station. To activate that area, the kids simply turn the valve and are ready to play. I changed the hoses. These blue ones are more flexible and easier for the kids to manage. I also changed out the resetting target with another spinning target. I used sand and rubber mulch for this play area. It helps to keep the water play clean. Things got pretty muddy prior to laying out the mulch. Inspired by Pinterest, here's what I plan to do with the window. This will be our science lab. I'll have test tubes and equipment stored along the window sill 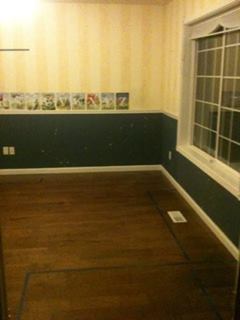 My Space My Space When you walk in, you're on the stage. I'll use a curved shower rod to create a curtain around the door. This will be our theater. Directly across will be the vetrenarian clinic-equiped with small cages on the wall Just built this fun water station for my nephews using PVC pipes, sprinklers, buckets and clear tubing. Lots of fun and pretty easy set up. I received this used kid craft clubhouse as a gift from a friend. I just planned to paint it and fix it up a little but once I put on the red and white stripe drapes, the Seuss house was born. Kids houses should be fun and inspiring ;) I added these fun test tube flower pots. This is a fun way to keep activities on the table and still out of the way. Buckets Built in! It also helps keep loose toys more organized when in use. Here's Charlotte matching her colors and patterns.
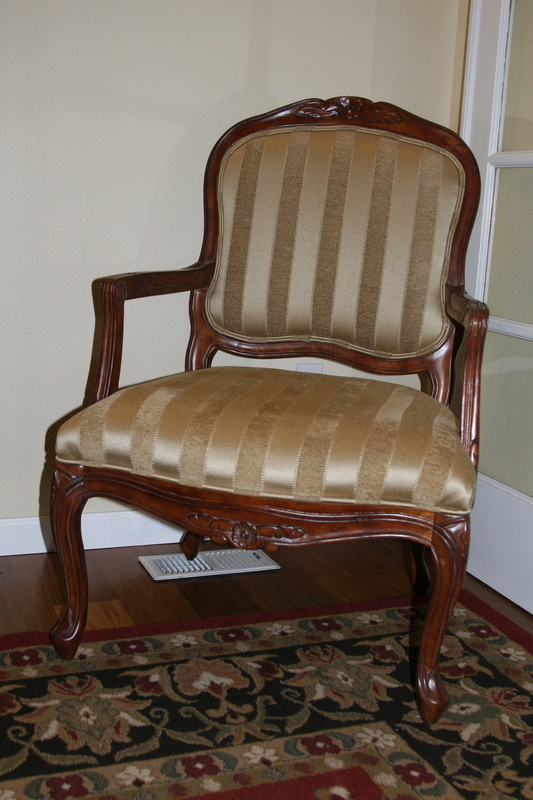
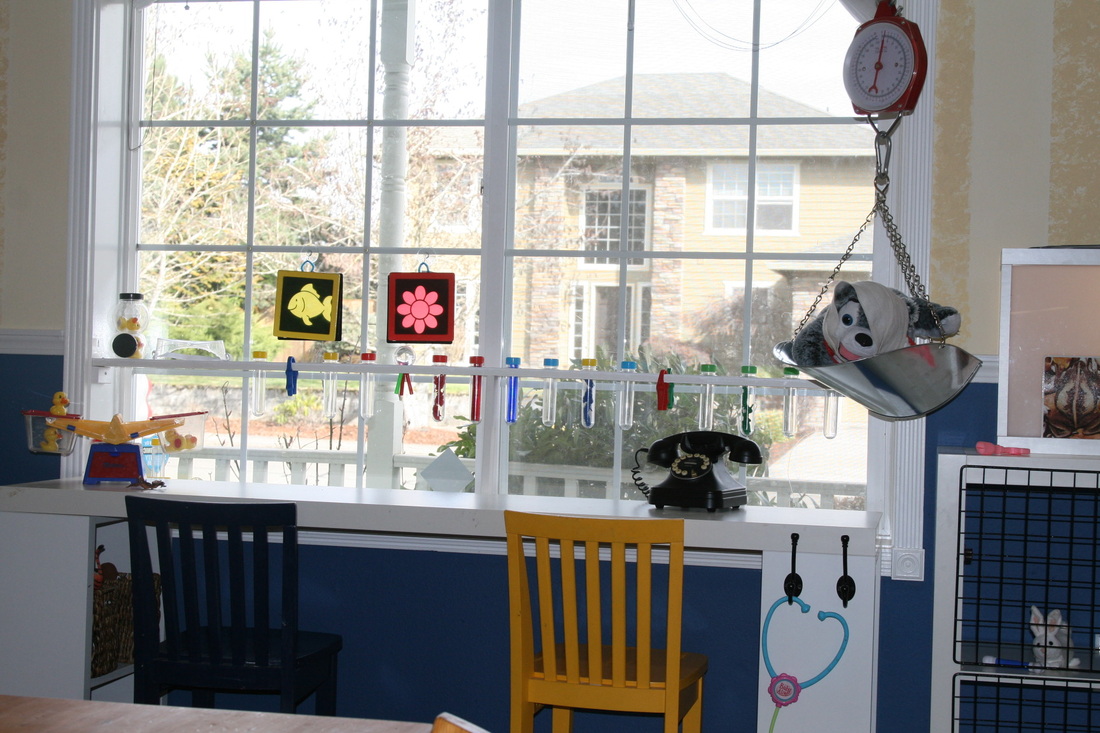
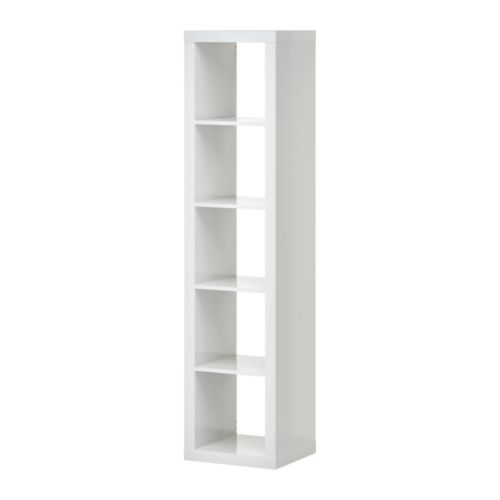
Quality goods can be found for free. It just takes a little hunting. I found a nitch I didn't know I had when I sold my first craigslist find for for a $100 profit. I used that profit to fund more finds. Along the way, my house was furnished temporarily until I found a better replacement. An upgrade in quality. And that's how you begin. It requires patience and negotiation. Hold steady when asking for more while selling and make sure to offer less when buying. Labor too. You'll have to haul the items ;). It's my personal way of going to the gym. It gets scary too. I worried many times about losing a rug or worse,a couch on the highway. I'm happy to report that never happened. Here's a few shots of how my home has progressed. Today, I'm actually in the black $3k. Furnished free and for profit. It was a fun project to take on- a game. . I want to build a 30ft metal gazebo out of scraps from other broken down gazebos. I could just buy 3 like gazebos but I want to costumize. I plan to hunt craigslist and yard sales for the frames. Hoping to score all I need for free. Soon to come on my progress. In a Previous post (ikea-hack-dry-erase-wall-for-kids-room), I dismantled an expedit unit from Ikea and created a fun dry erase wall for the kids playroom. I still had another piece of the unit to use so I created this fun lab table. This is the expedit Unit I used. The long part of the unit was the perfect length for our window lab table. The surface of the unit is perfect for cleaning up all of our messy science experiments. And it gets messy! This table surface is perfect for kid play.
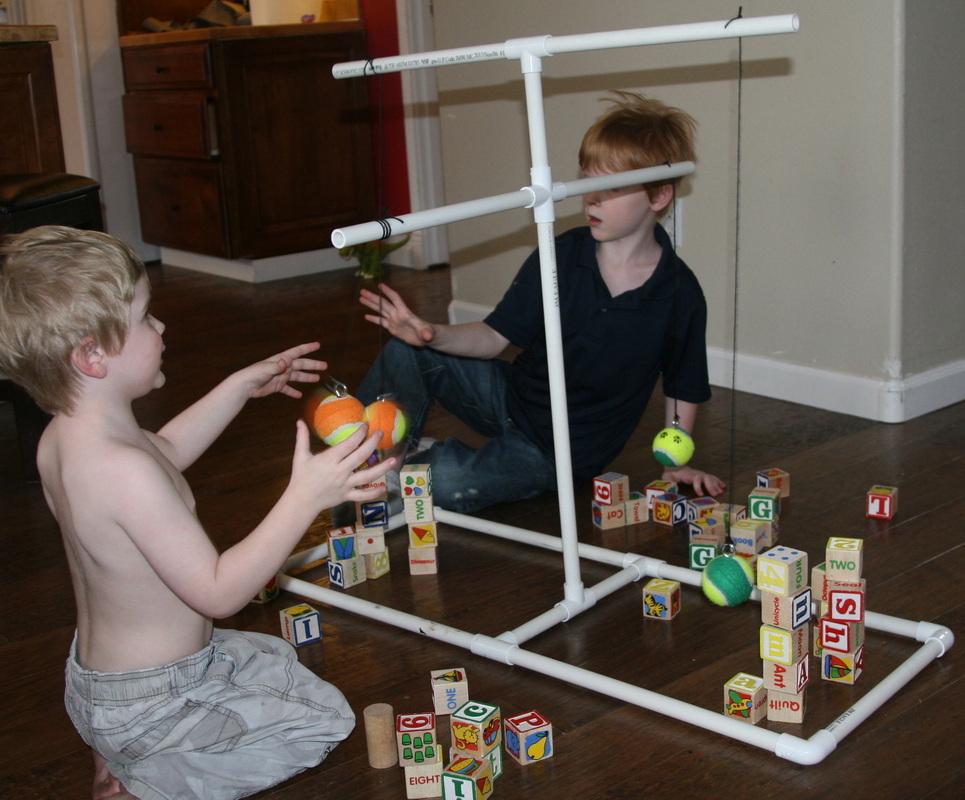
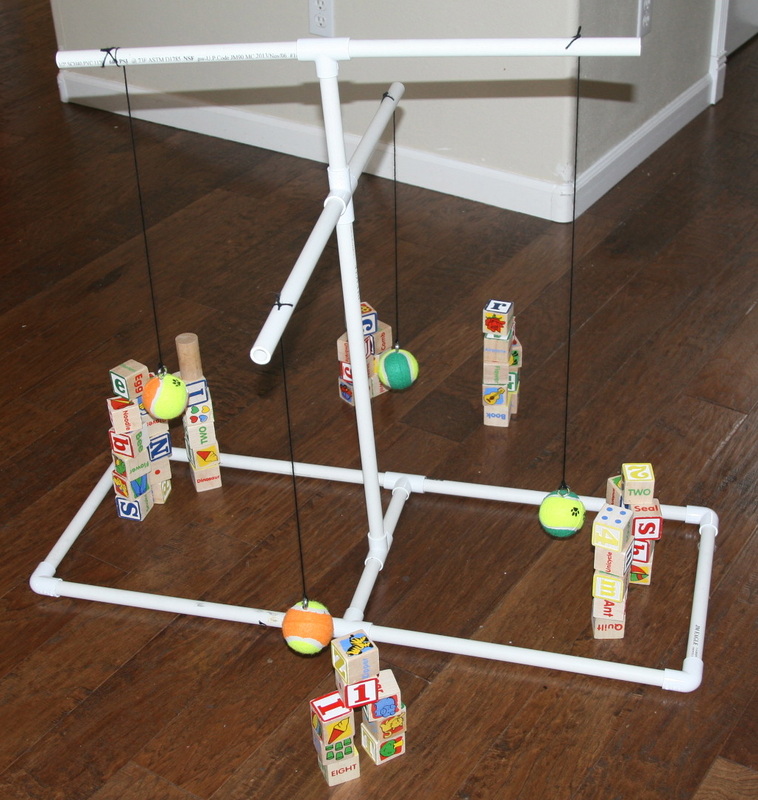
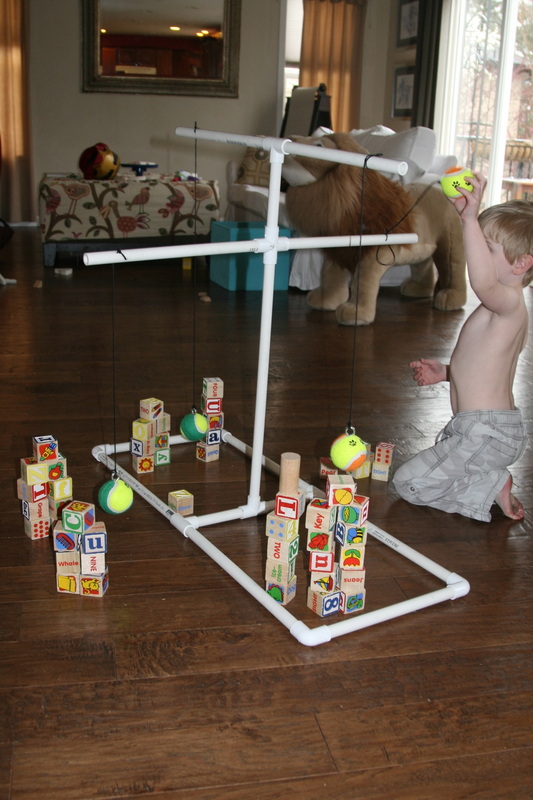
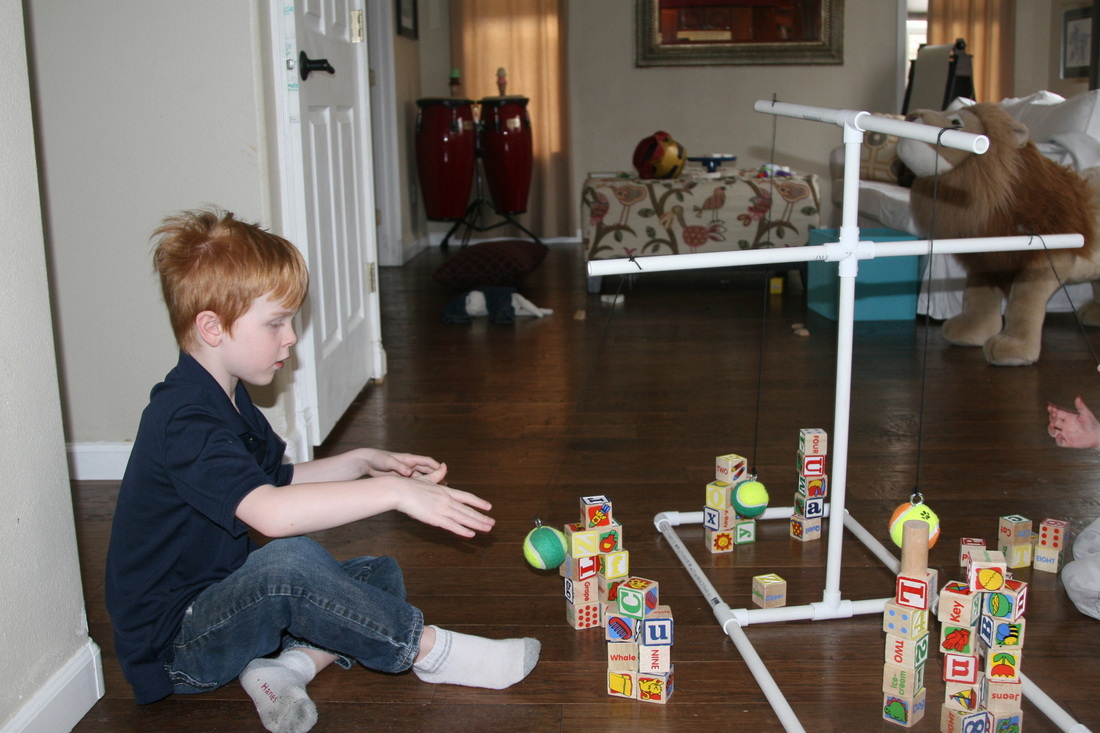
Pendulum Play is excellent for learning cause and effect, physics, spatial reasoning, experimenting with weight and size, language, vocabulary and teaches kids how to work together. I made this pendulum out of PVC pipes, string and tennis balls. After the initial excitement of knocking blocks down, the kids began experimenting with the the limitations of the ball and began building their towers more strategically. This is a great way for kids to learn through play! Very easy set up!
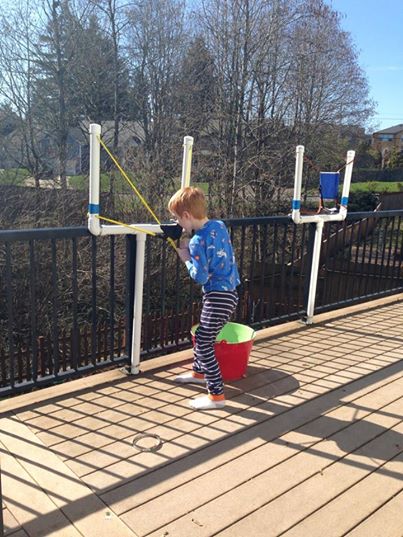
The boys are really into App games like Angry Birds and Grumpy Snowmen because of the sling shot features. I was surprised to learn how easy it was to create a life size one for them. I chose PVC pipes because they are cheap and very easy to work with. We have been slinging ice cubes with them but I plan to build a few targets this summer so we can all practice our aim.
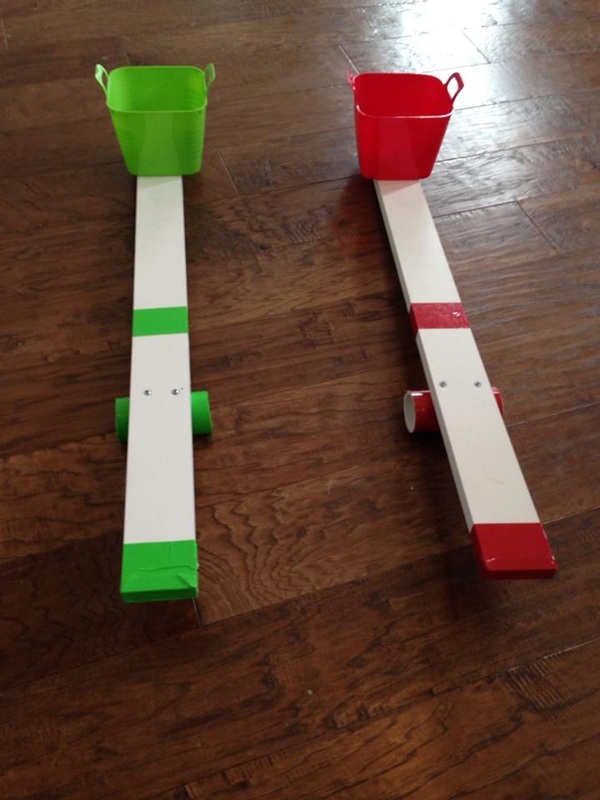
This is a really great party theme for kids 4 and older. The kids kept asking what game/race is next! Funny enough, I was worried I had too much planned and didn't want it to be too structured. Luckily I was prepared because they couldn't get enough! Here's of few looks at our course. Some of the activities we did were: Egg and spoon race, Crab crawl, Shopping cart derby, Backward team race with baton pass, Disk toss through Olympic Rings, Obstacle course run and Egg Hunt. 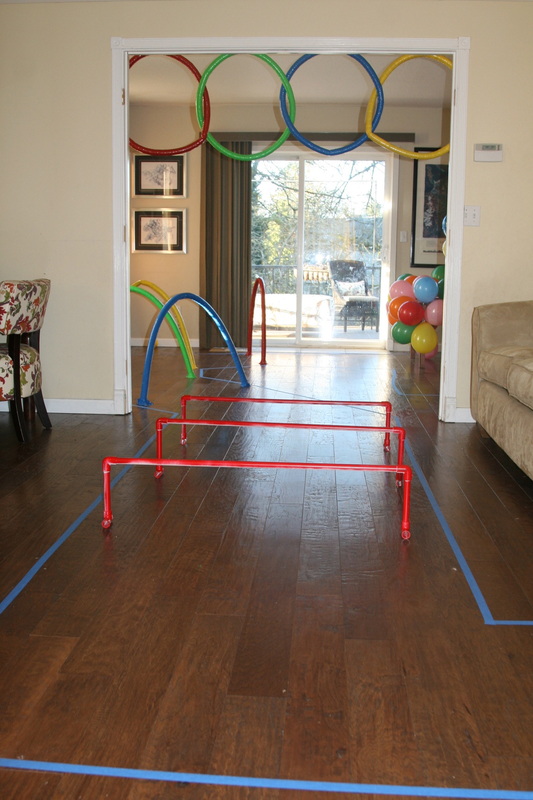 I made the hurdles with PVC pipes and spray painted them red. It only cost $4 in materials. It was a much better solution to buying them for $40 retail. I made them 7 inches tall. After testing a few heights with the boys, this seems like the best height for most ages/sizes. For each hurdle, you need two 90 degree elbows and two T caps. The olympic rings and arches are made with pipe insulators and decorated with duct tape. The covers were only .80 each. Another great solution to save money on pricey retail arches. 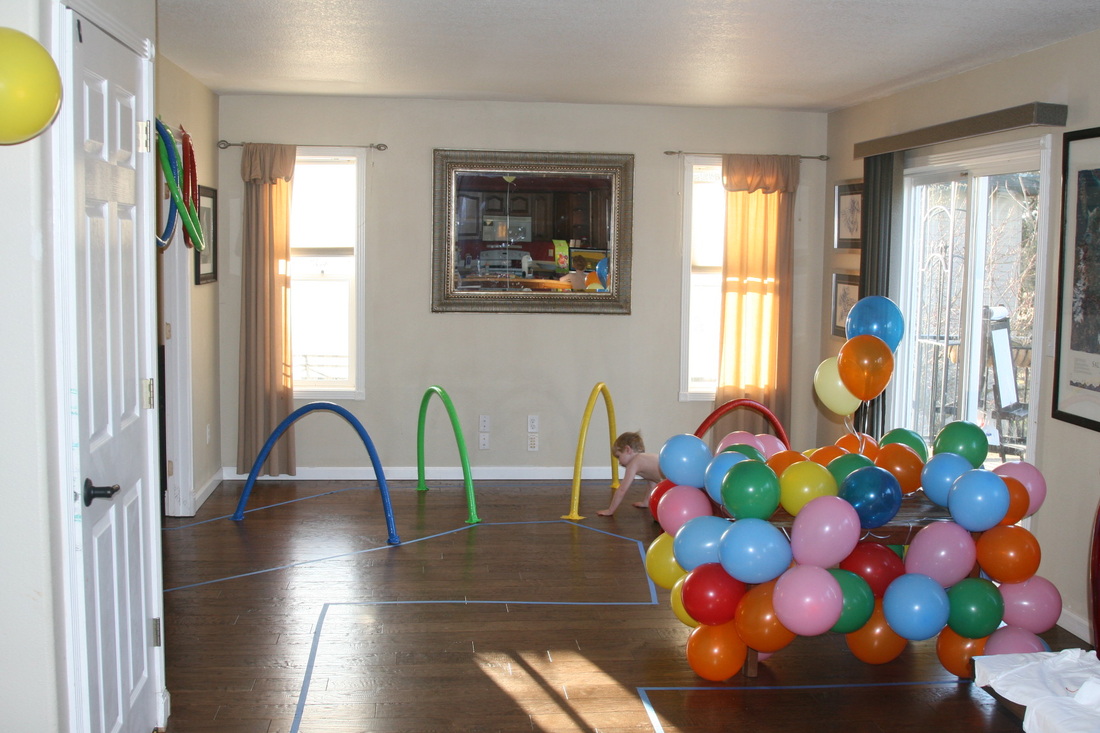 Our balloon table was the first obstacle. The kids had to crawl through that first. I strung about 6 balloons together and tied them to the table. I repeated that pattern all around. I made sure to keep the balloons loose around the entrance/exit so the kids wouldn't get caught up in them. I also used blue painter's tape to create the flow of the course. It helped keep the kids on track and added to the decor This was a really easy toy to make for the boys. I picked up these buckets for .50 at the dollar store, cut down a piece of pvc pipe to go under the board and cut down a piece of primed wood. I drilled holes in the wood and attached the pvc pipe with a nut and bolt. I also drilled one hole in the bucket to attach it to the top end of the plank. That too was secured with a nut and bolt. I covered the bottom area in duct tape so the kids wouldn't get splinters. All sorts of things have been flying in the air! When the weather gets nicer, we'll move it outside for some water balloon fun.
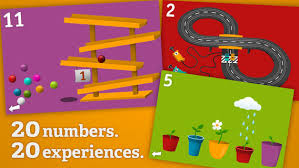
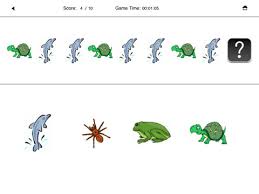
Here's a list of our favorite Apps. They are kid tested and mom approved. I'll continue to post updates to this blog entry as there are a ton more that we love and would like to share. EducationalTally Tots- The kids love it because it's interactive with 20 fun experiences. I love it because the app does teach counting. If my child wants to play a certain experience, he has to listen to the count before it appears. I find him counting along all the time. They also have an Alpha Tots app. The kids seemed to favor the tally more though. Pattern Recognition by Nth Fusion- This app is intended for Kindergarten and has apps for other grade levels. My 3 year old and 4 year old like it.
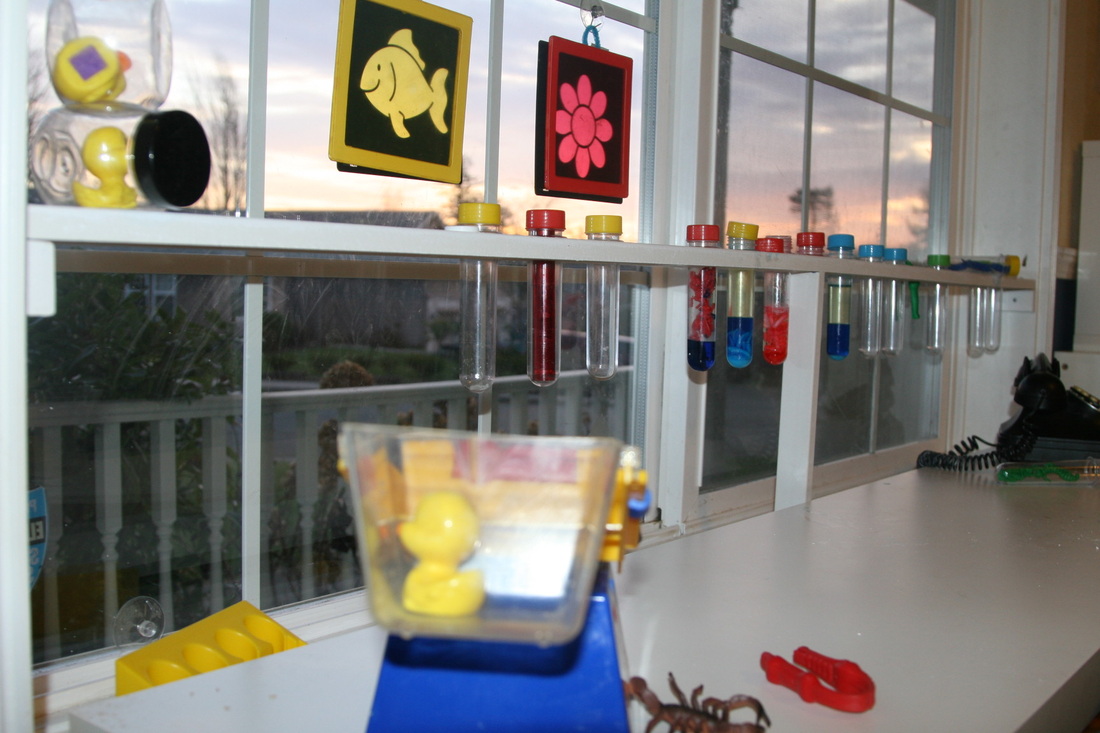
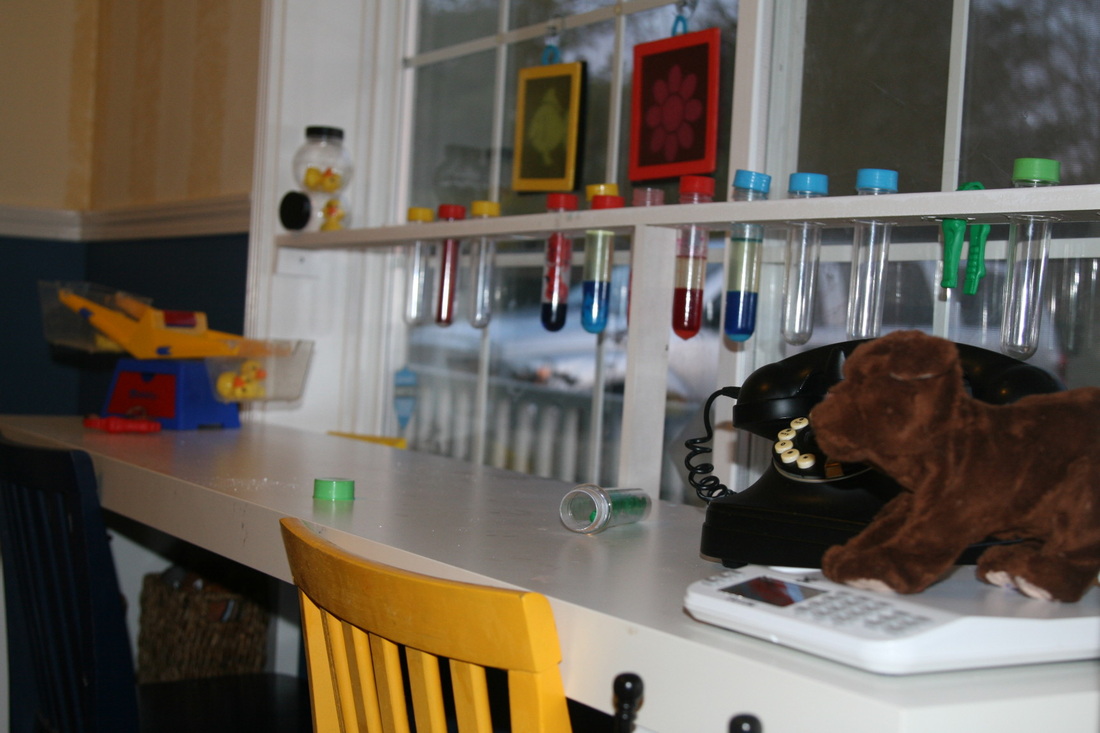
Here's a fun way to turn your windowsill into a Science Lab Station for your kids playroom. I drilled holes into a piece of wood that were the same diameter as the test tubes. I suspended the slat of wood by cutting down two small slats to support it on each side of the windowsill frame. Now the kids have a dedicated area for all their science experiments. As a bonus, it adds to the decor of the room! More importantly, it offers spontaneous play. Instead of having the test tubes stored in cabinets, they are out in plain sight and inspire the kids daily to create fun concoctions.
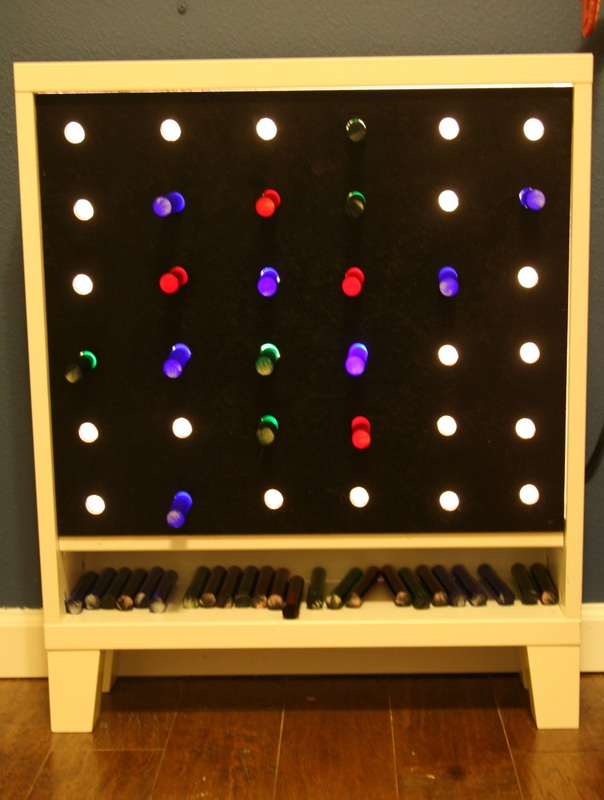
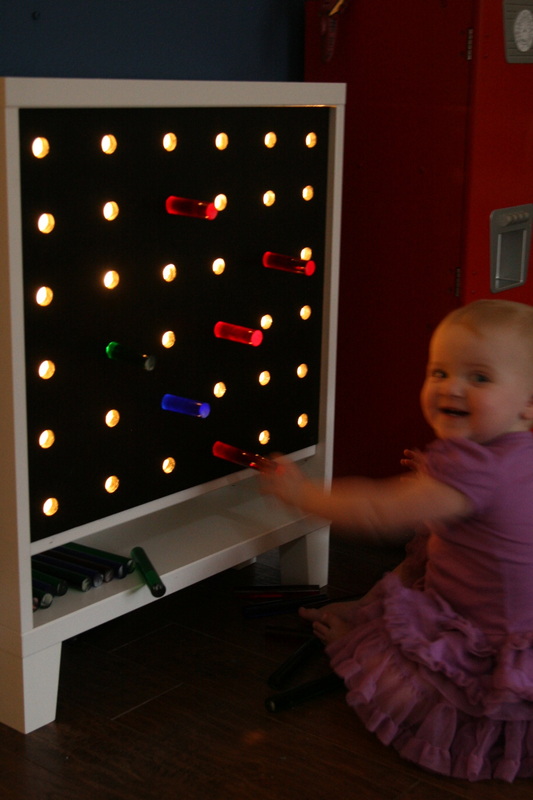
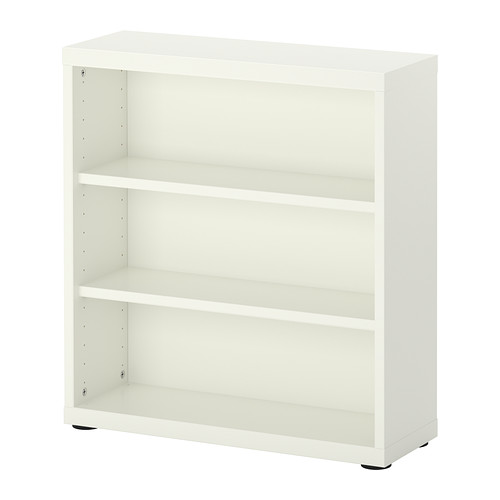
While at our local Children's Museum, our kids were drawn to this fun life size pegboard exhibit. Ever since seeing it, i've been planning to make it for their playroom. It's such a fun addition to our quiet play. I used an Ikea Besta shelf as the base. This was a fun Ikea hack! |
Raina KennedyAuthor Categories
All
|


 RSS Feed